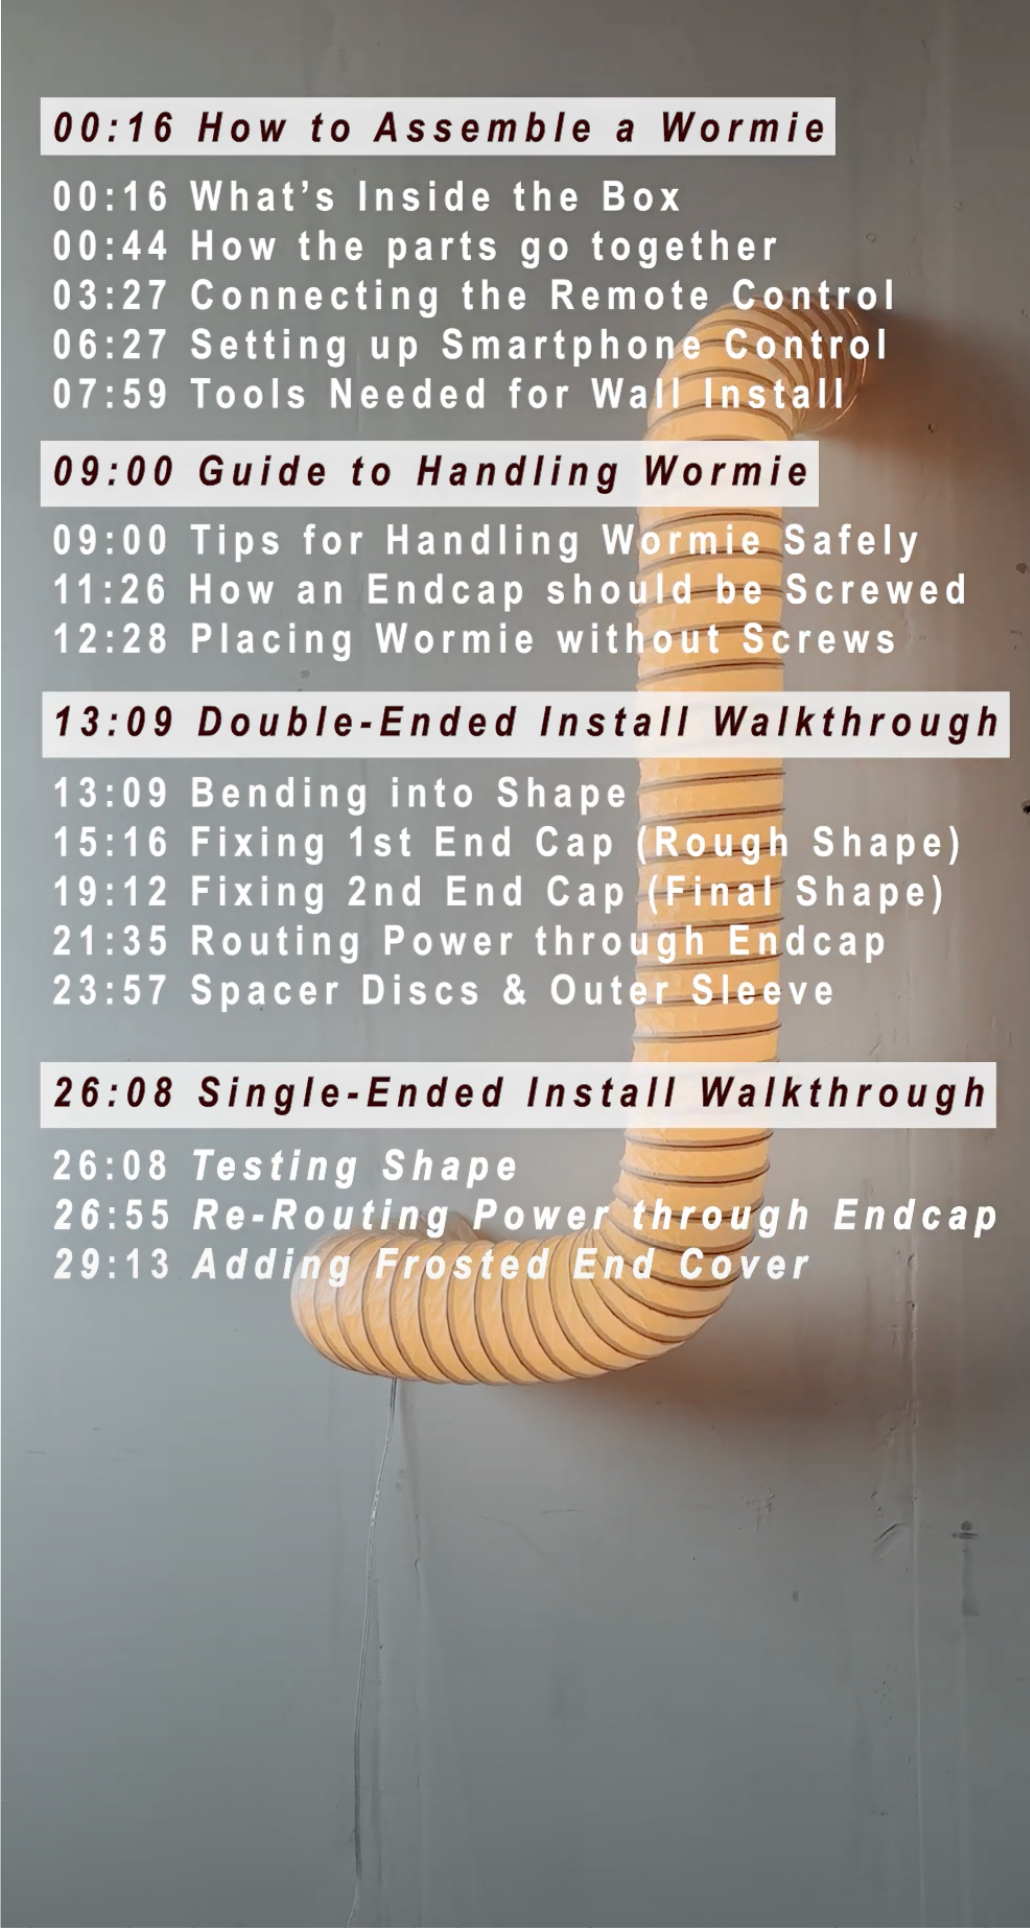
Watch the Install Video or Follow the Quick Guide Below
Wormies are intuitive to install, but it's good to start with the 'right way' first.
How to Install a Wormie (Full Walkthrough Video)
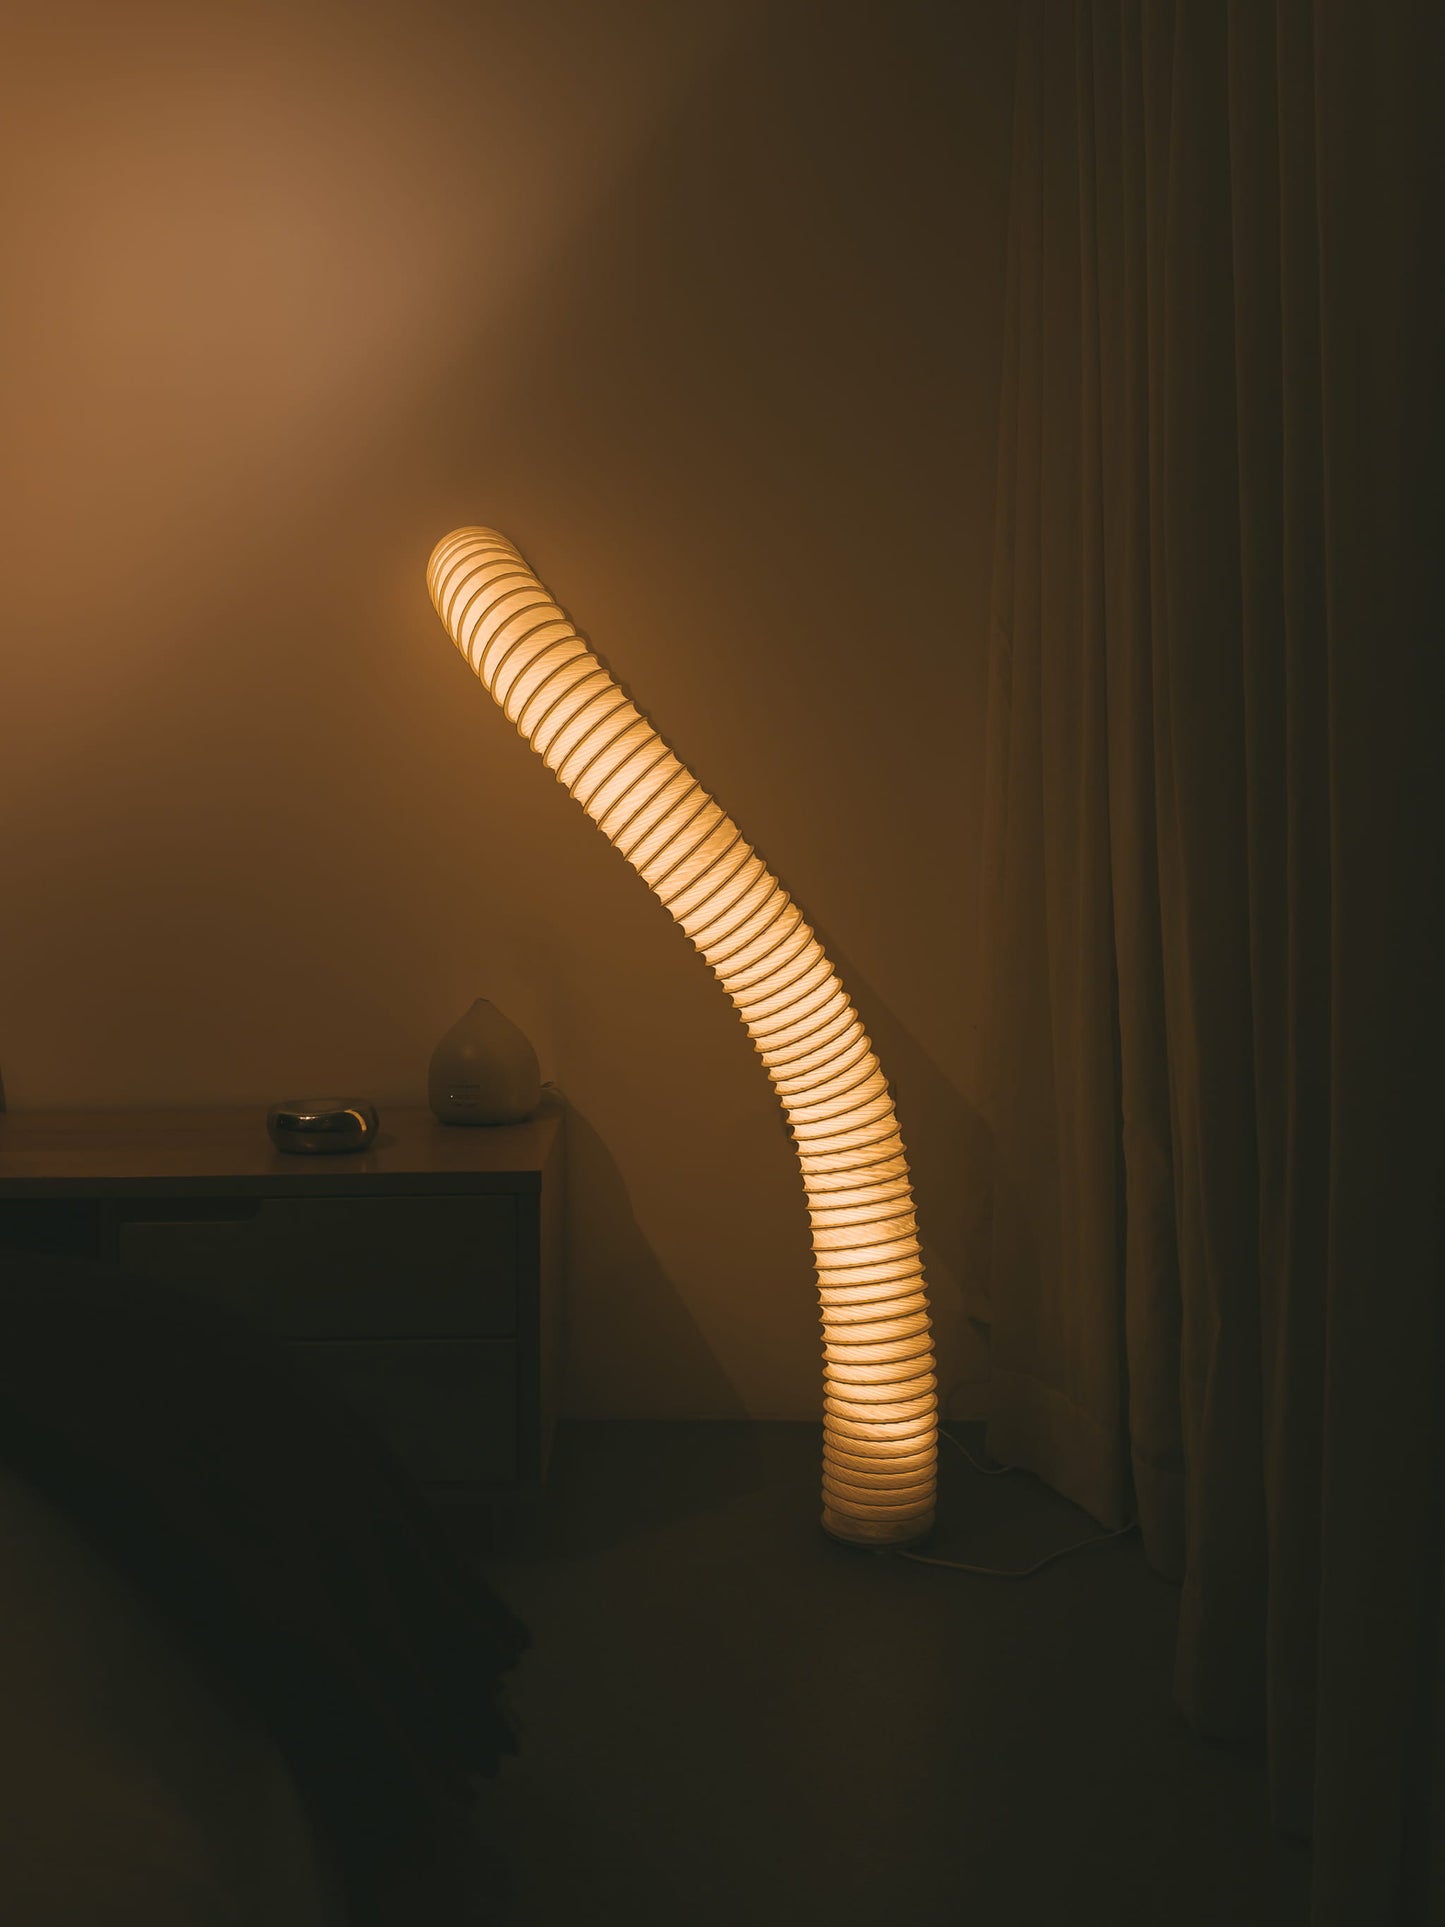
The Wormie 1.5m
Regular price
From €229,00 EUR
Regular price
€229,00 EUR
Sale price
From €229,00 EUR
Unit price
/
per
Good to know before starting
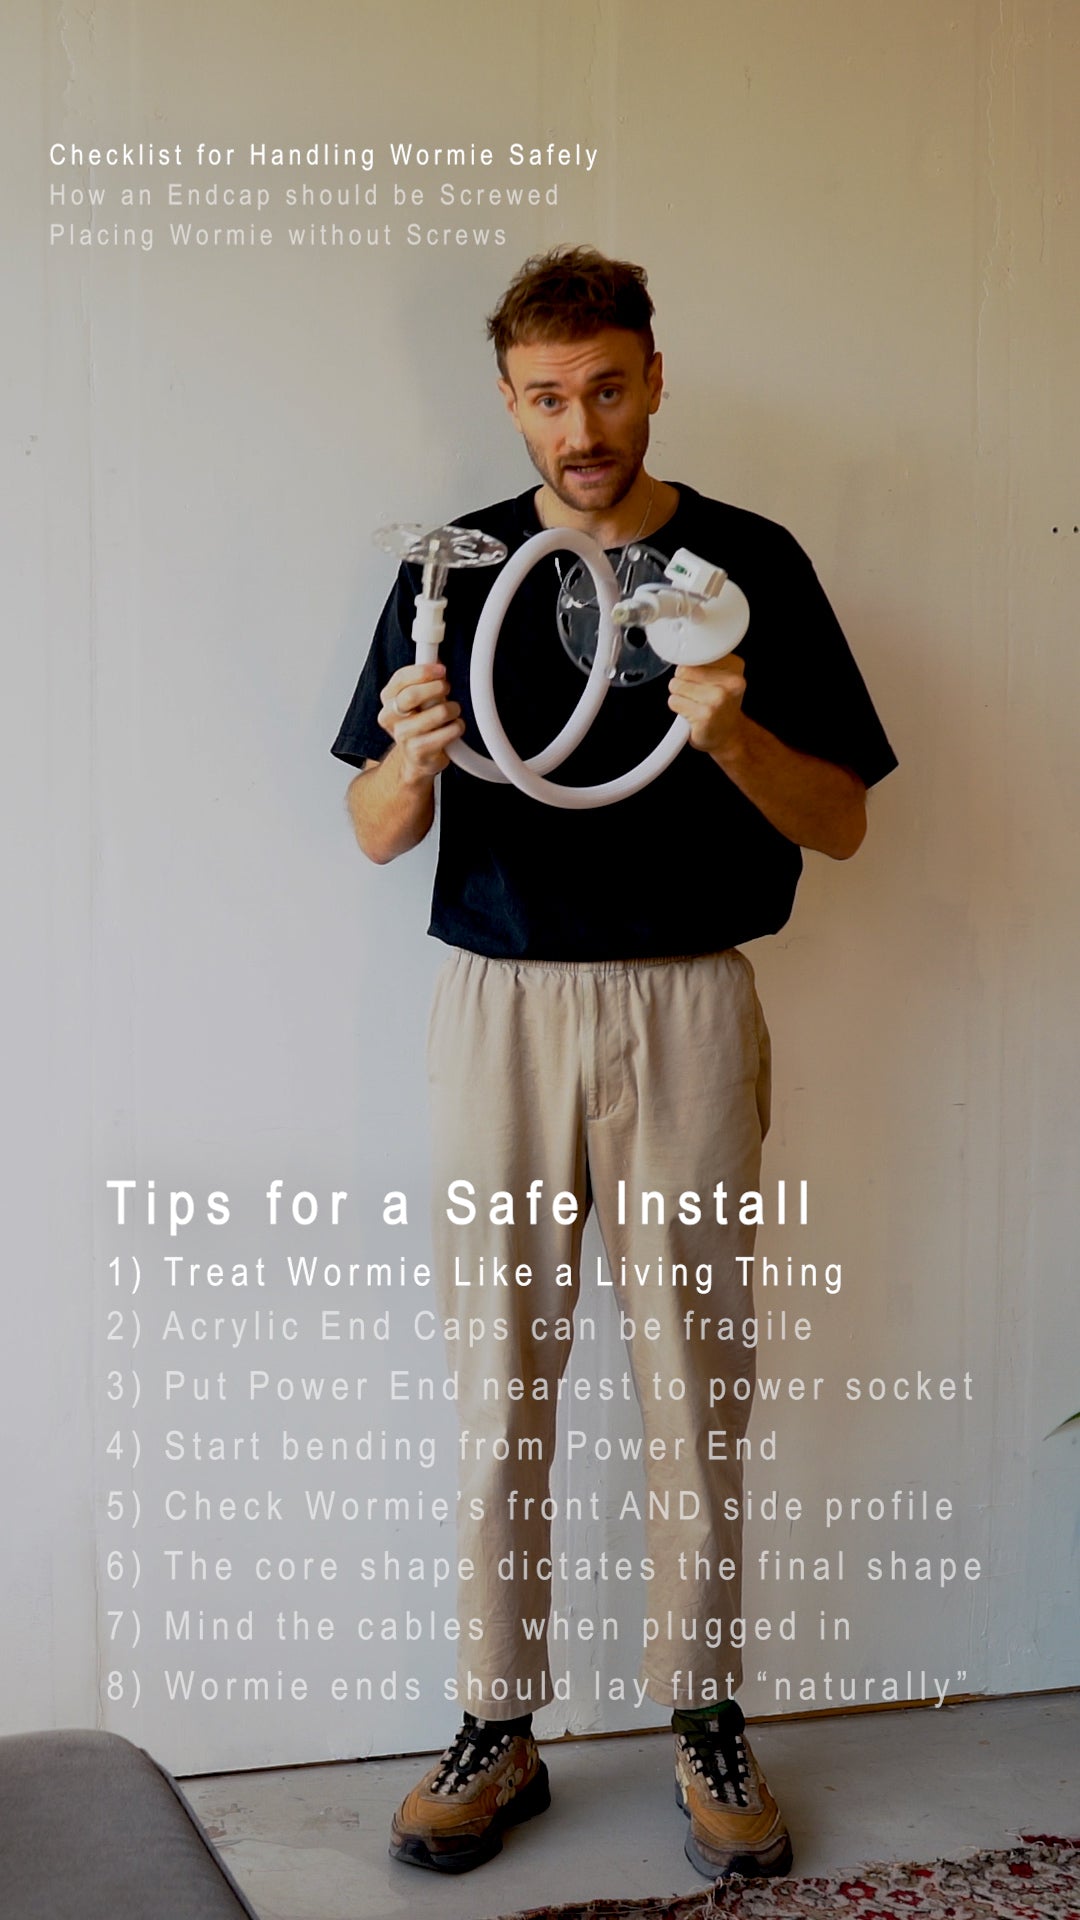
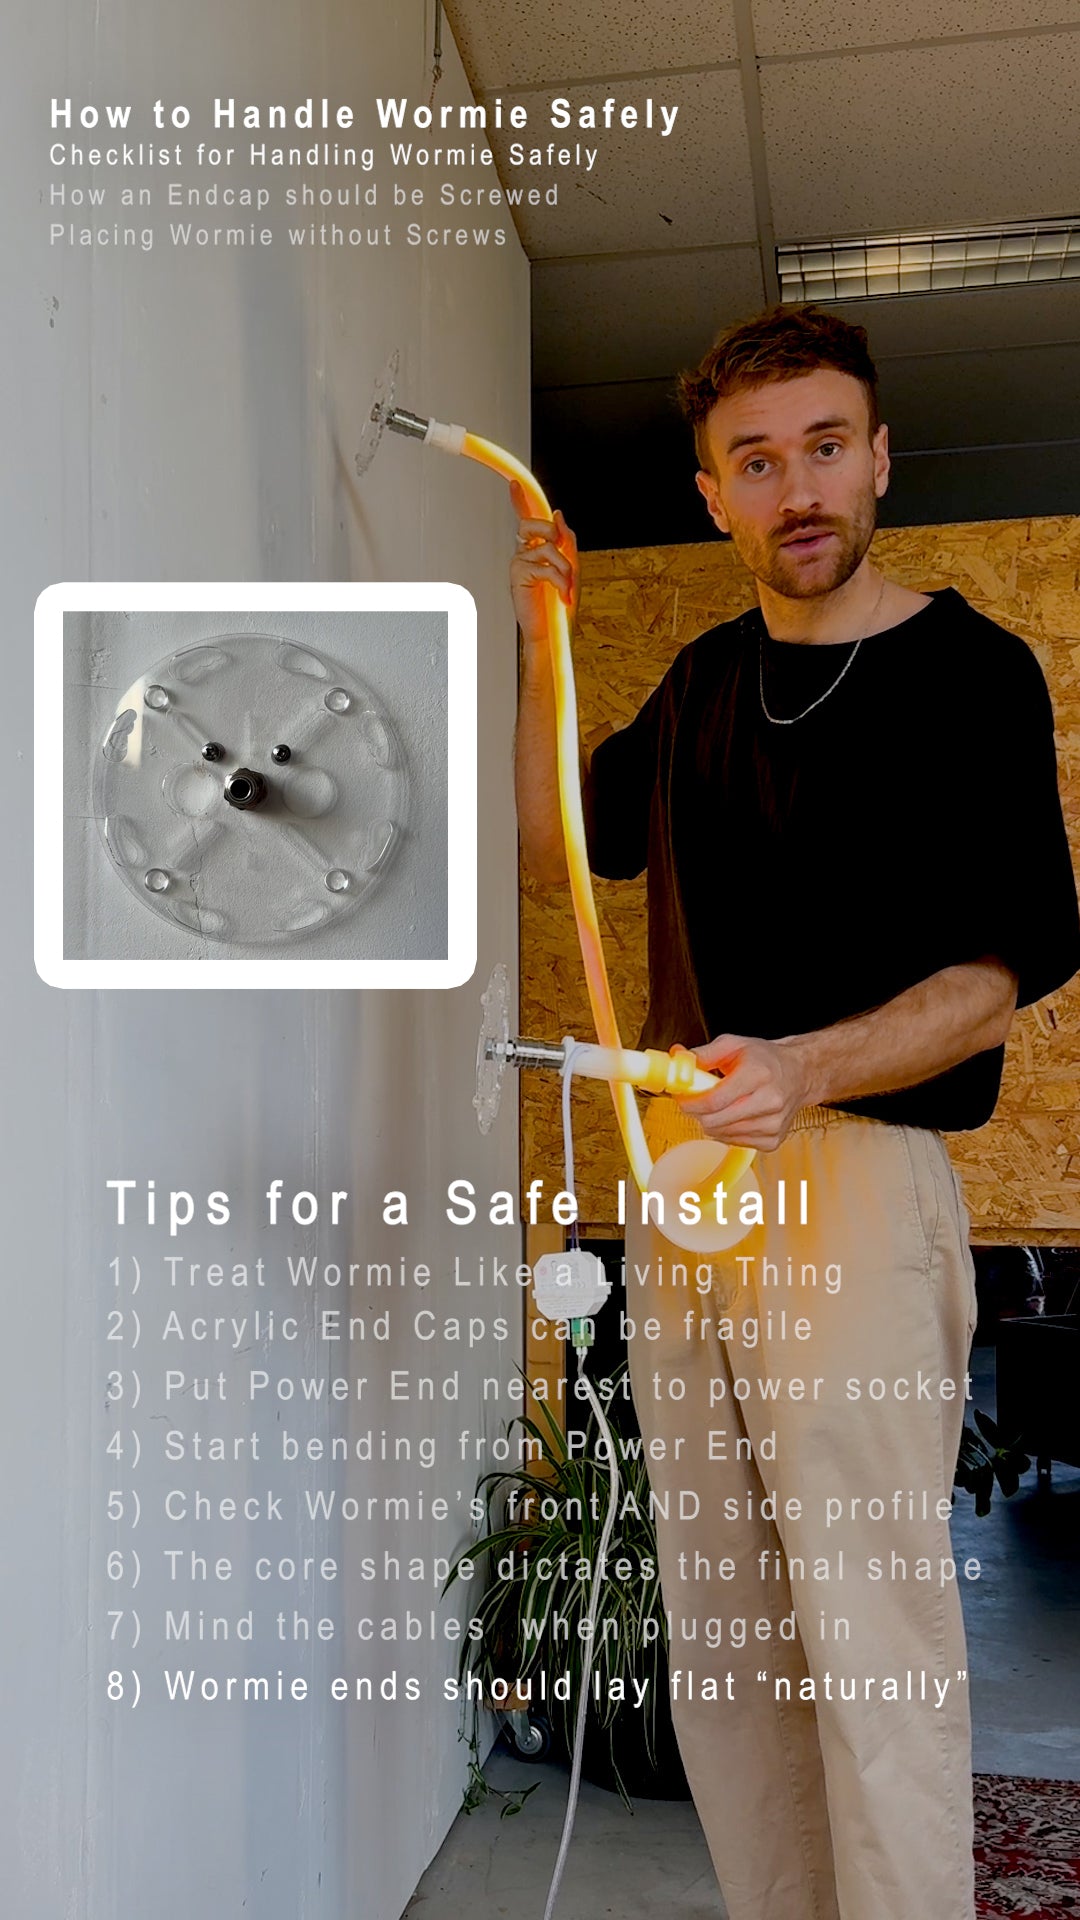
TIPS for a Safe Install
- Treat Wormie Like a Living Thing (Skip to 09:11)
- Acrylic End Caps can be fragile (Skip to 09:24)
- Put Power End nearest to power socket (Skip to 09:36)
- Start bending from Power End (Skip to 09:55)
- Check Wormie’s front AND side profile (Skip to 10:16)
- The Core shape will dictate the final sleeve shape (Skip to 10:23)
- Mind the cables when plugged in (Skip to 10:40)
- Wormie ends should lay flat 'Naturally' (Skip to 11:04)
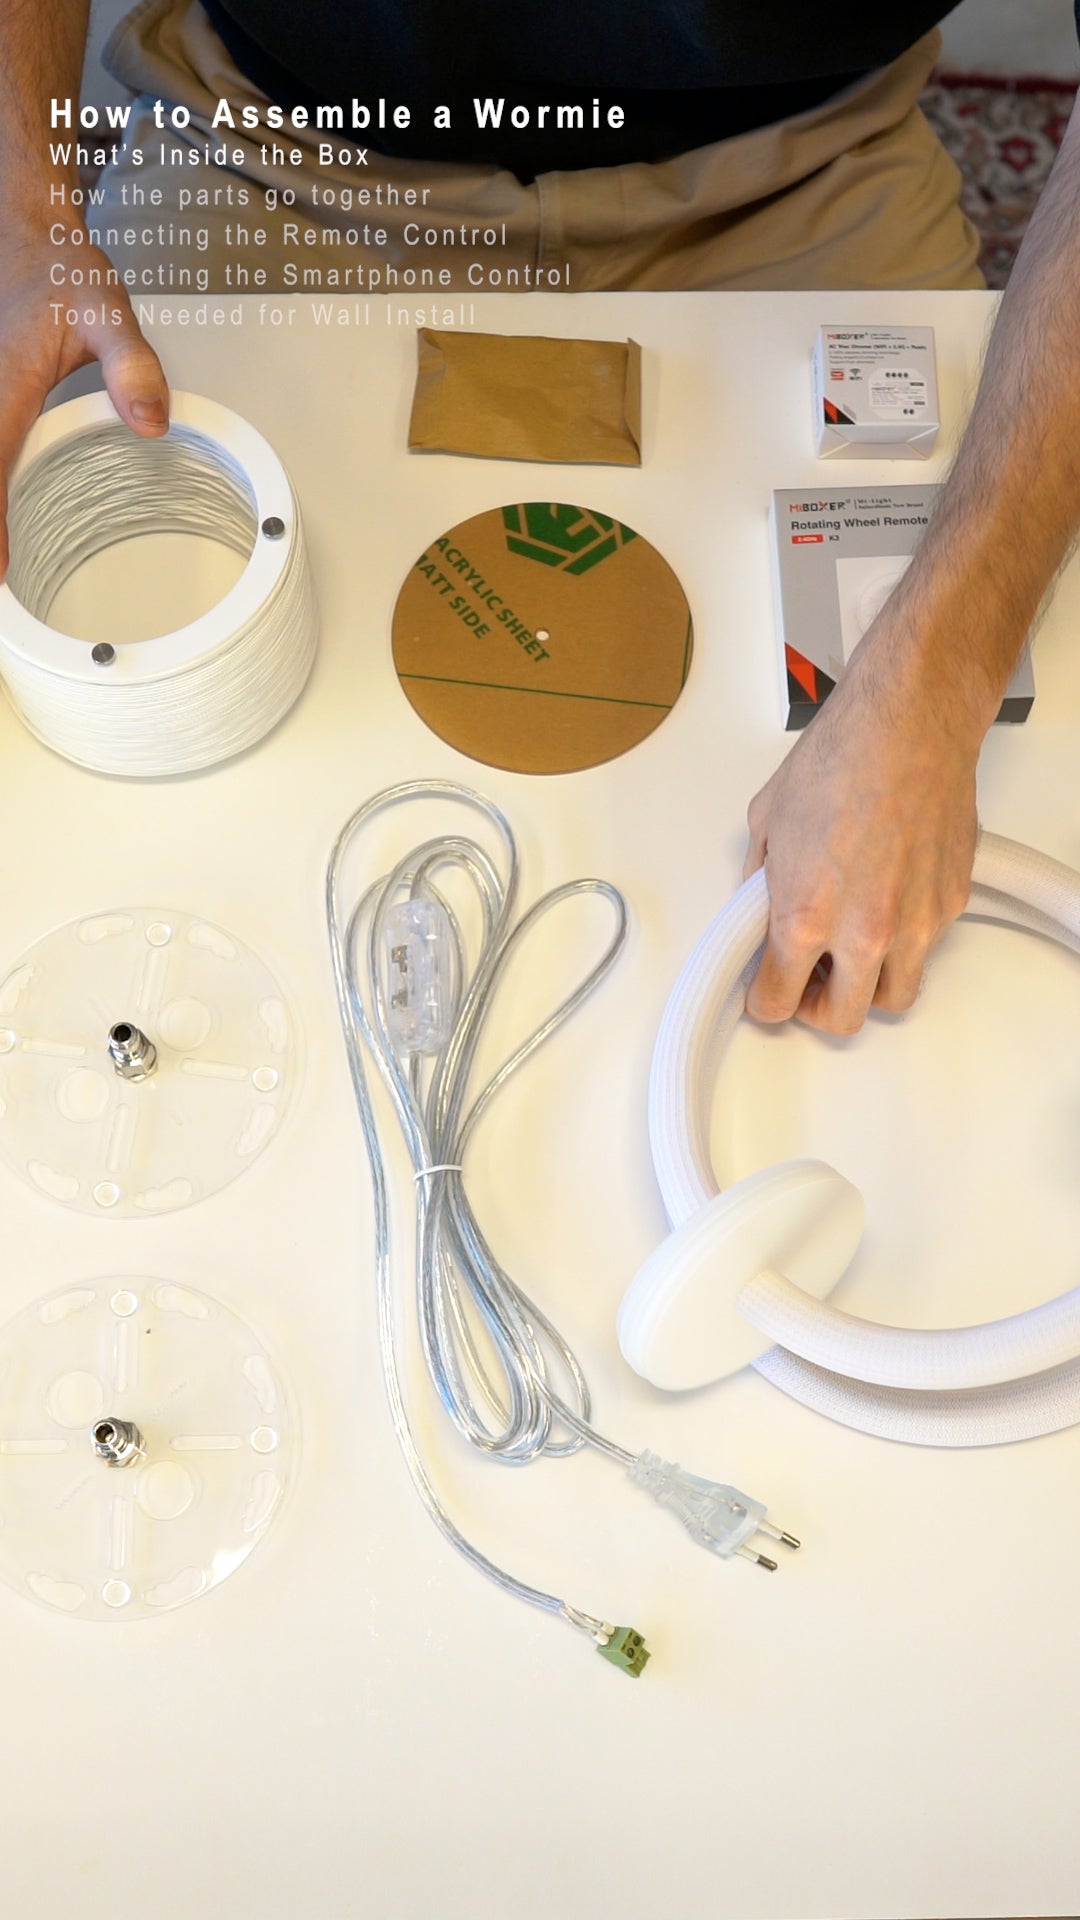
STEP 1
Unboxing and Components
Unbox Wormie:
- Carefully remove Wormie and its parts.
Parts Overview:
- LED Core with Spacer Discs & Wormie Brain (if chosen Smart Control pack)
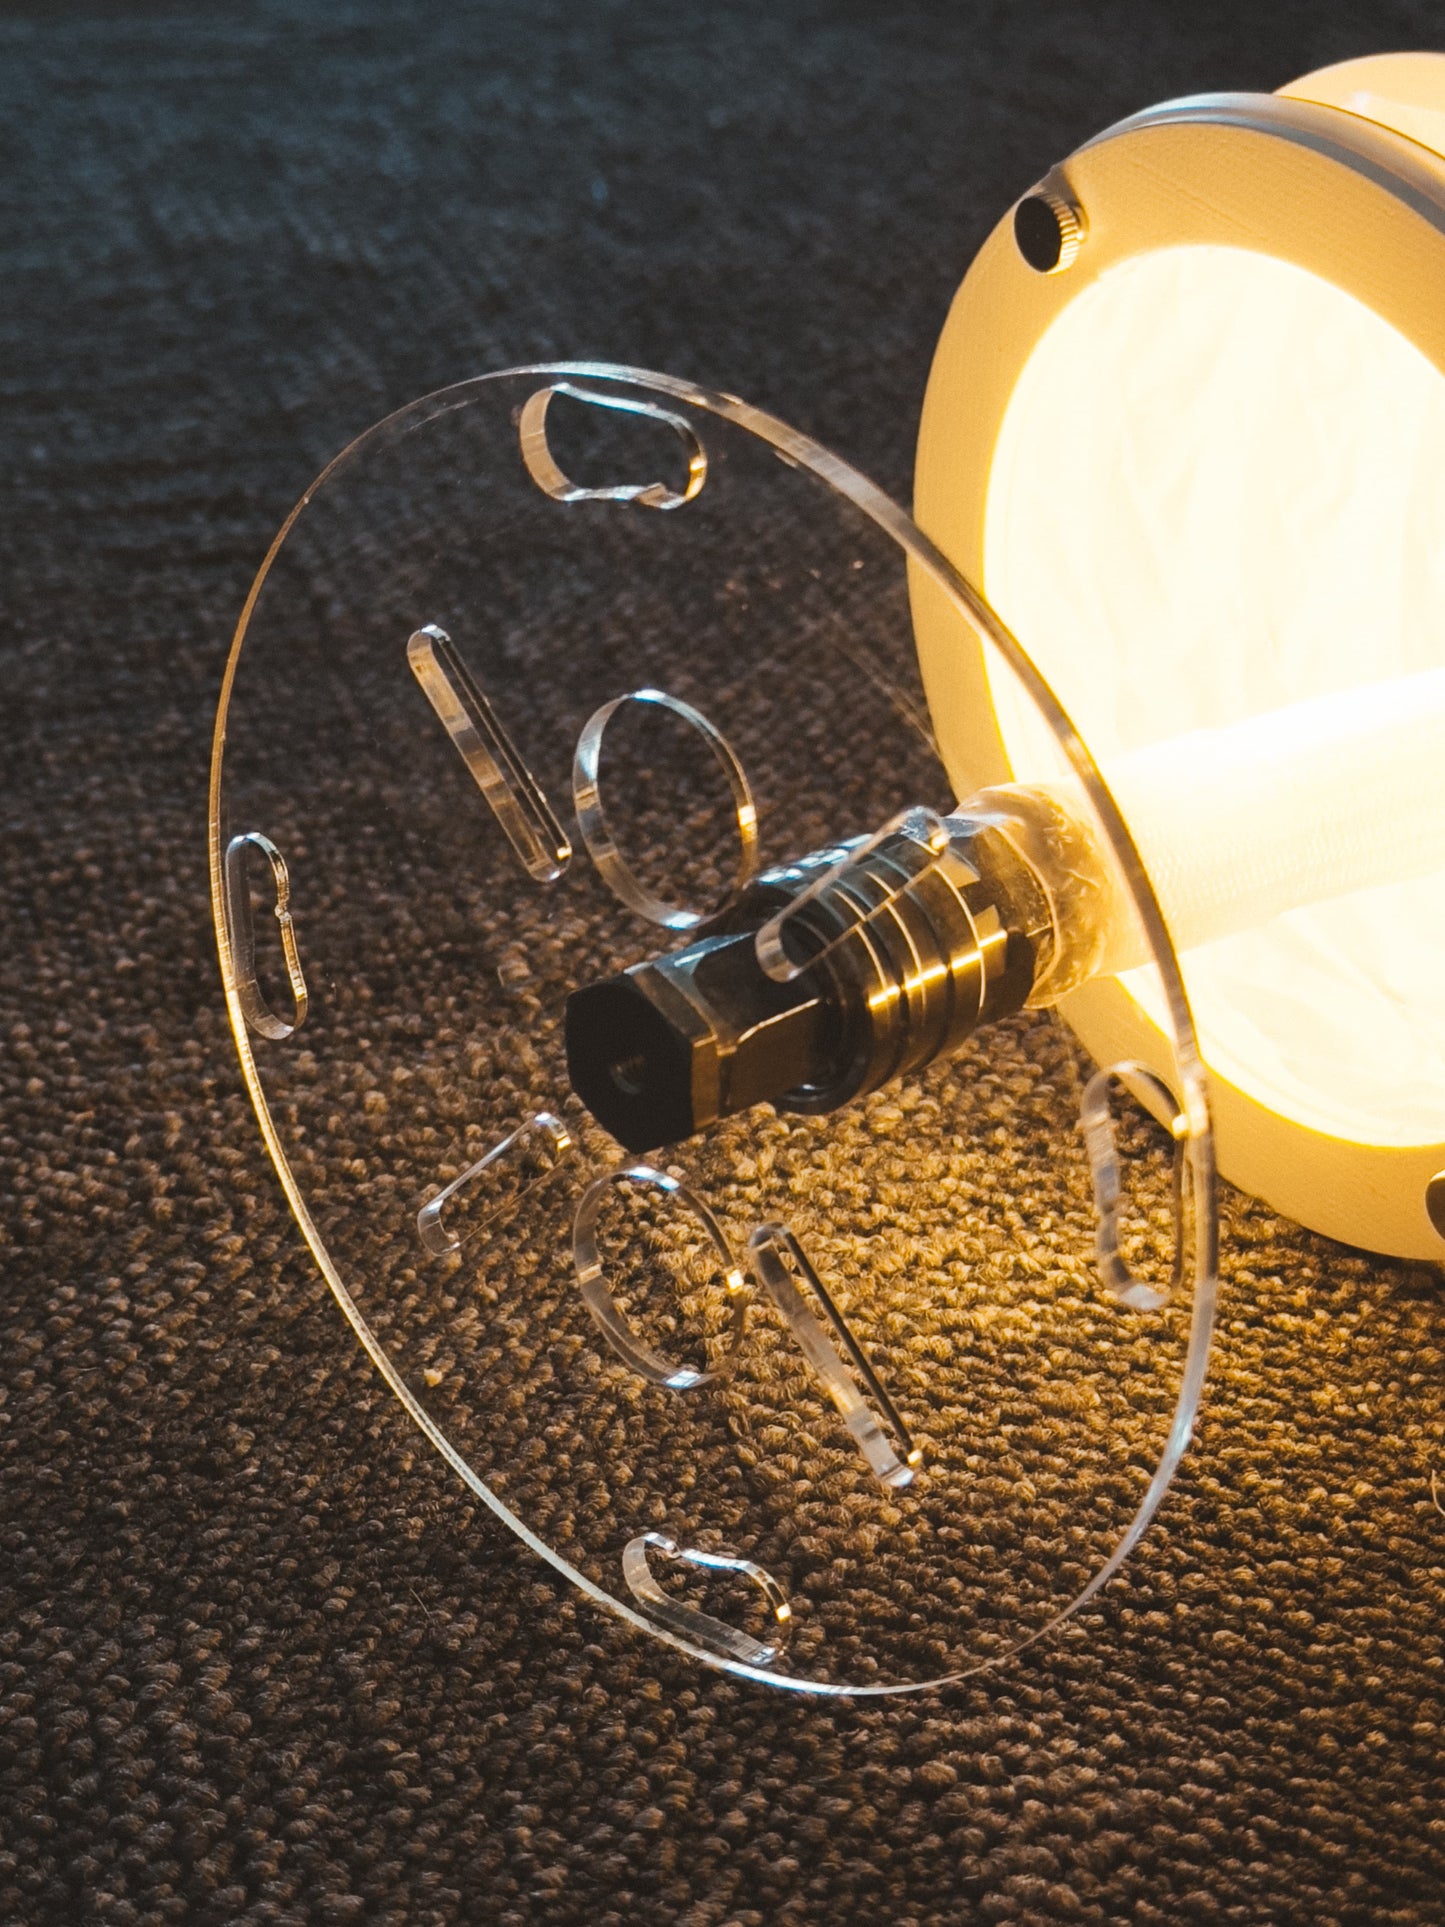
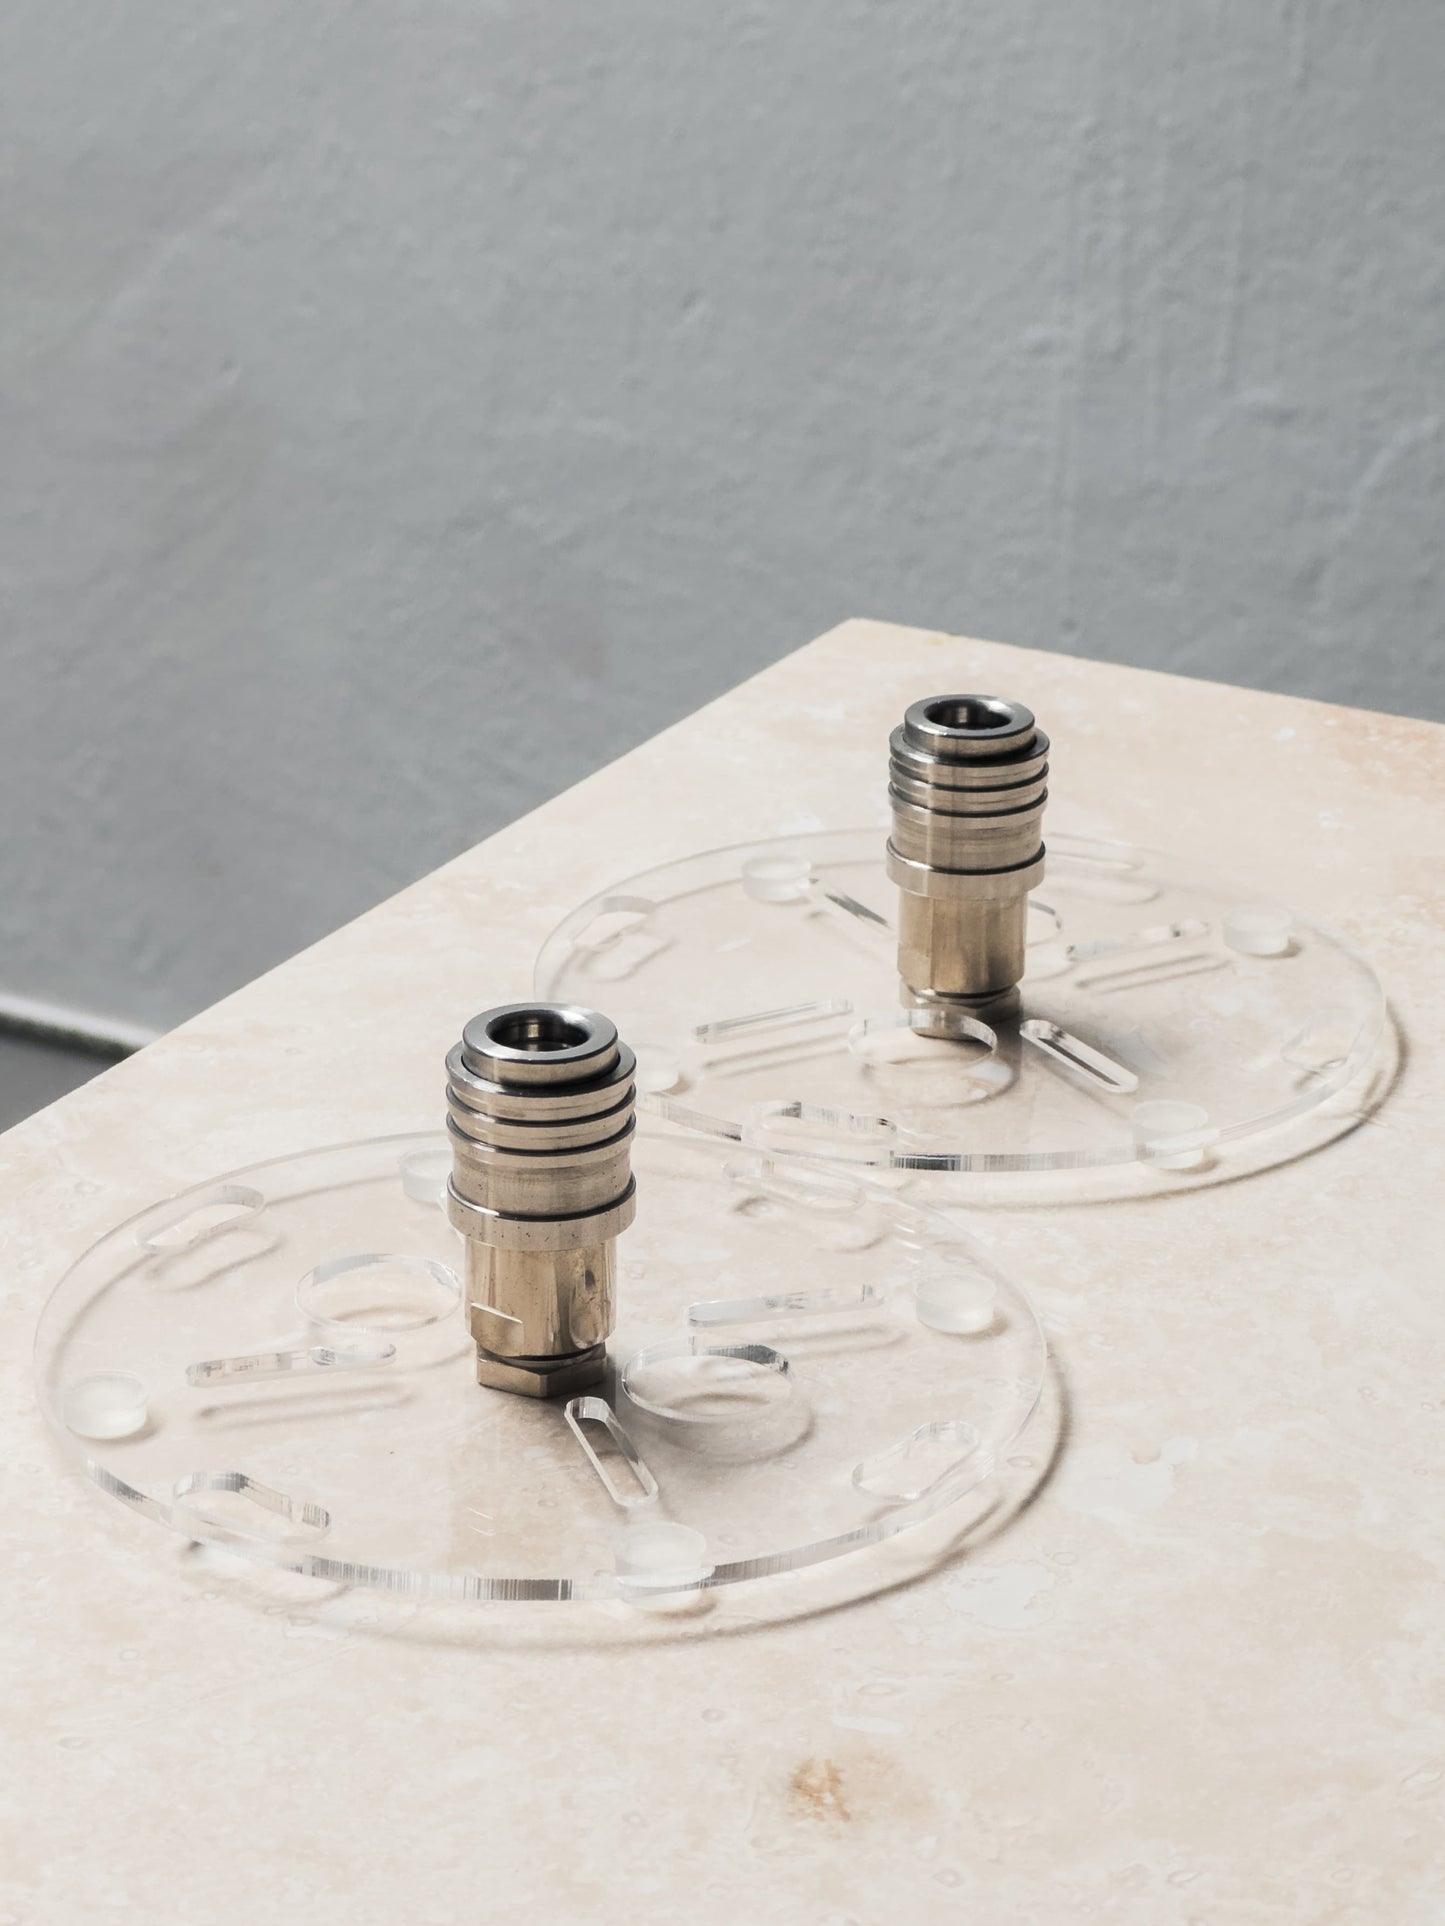
- Acrylic End caps
- Outer Sleeve
- Power Cord
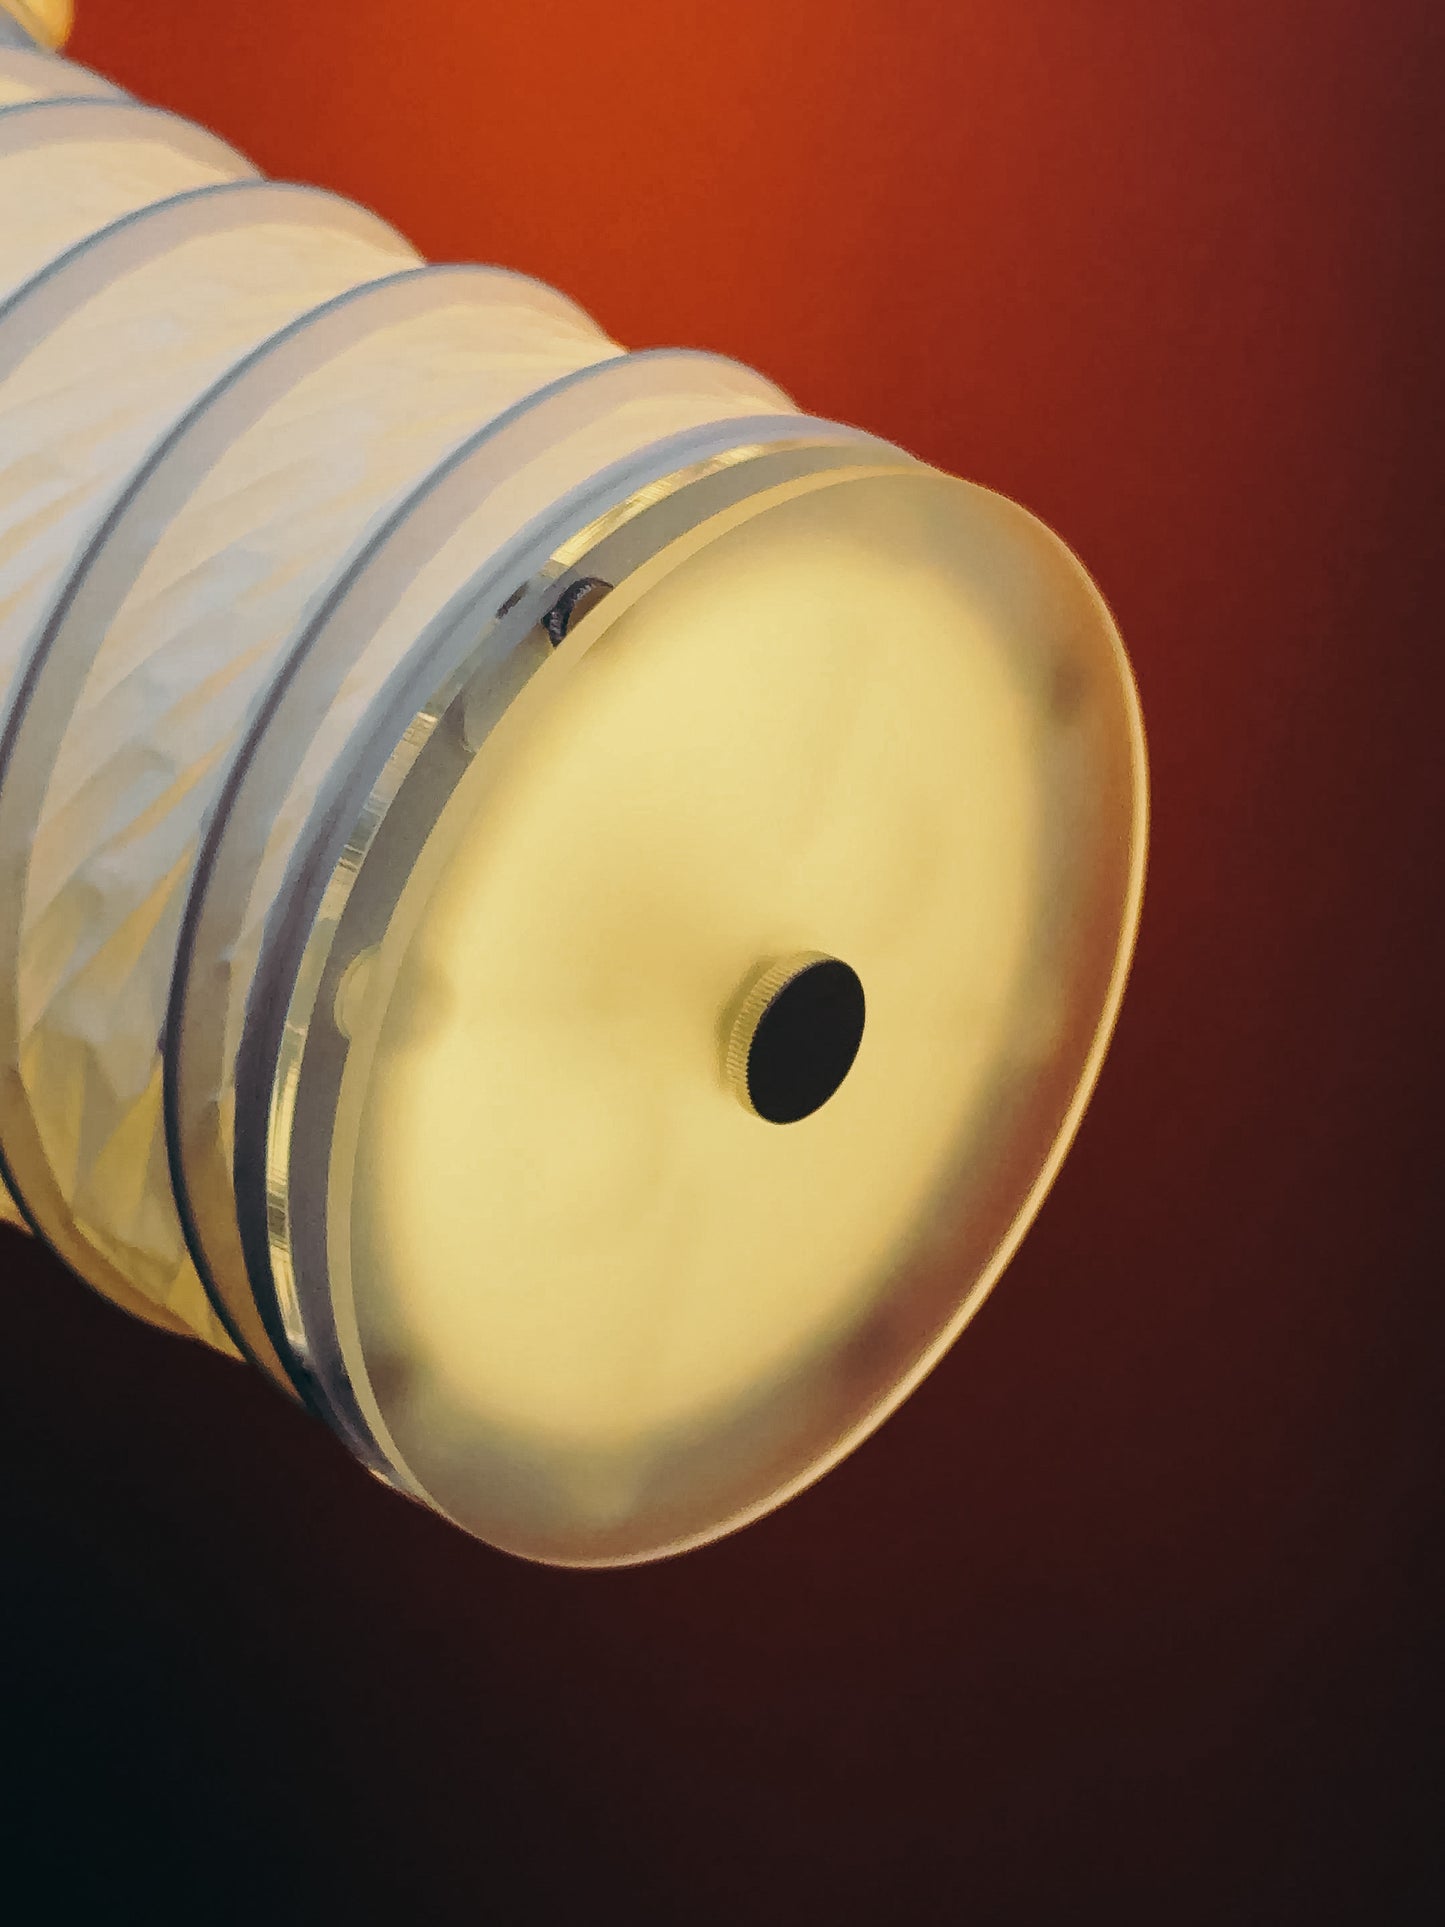
- Accessories (4*Screws, 4* Plugs, 1* Frosted End Cover, 1* Stainless Steel Bolt for Frosted End).
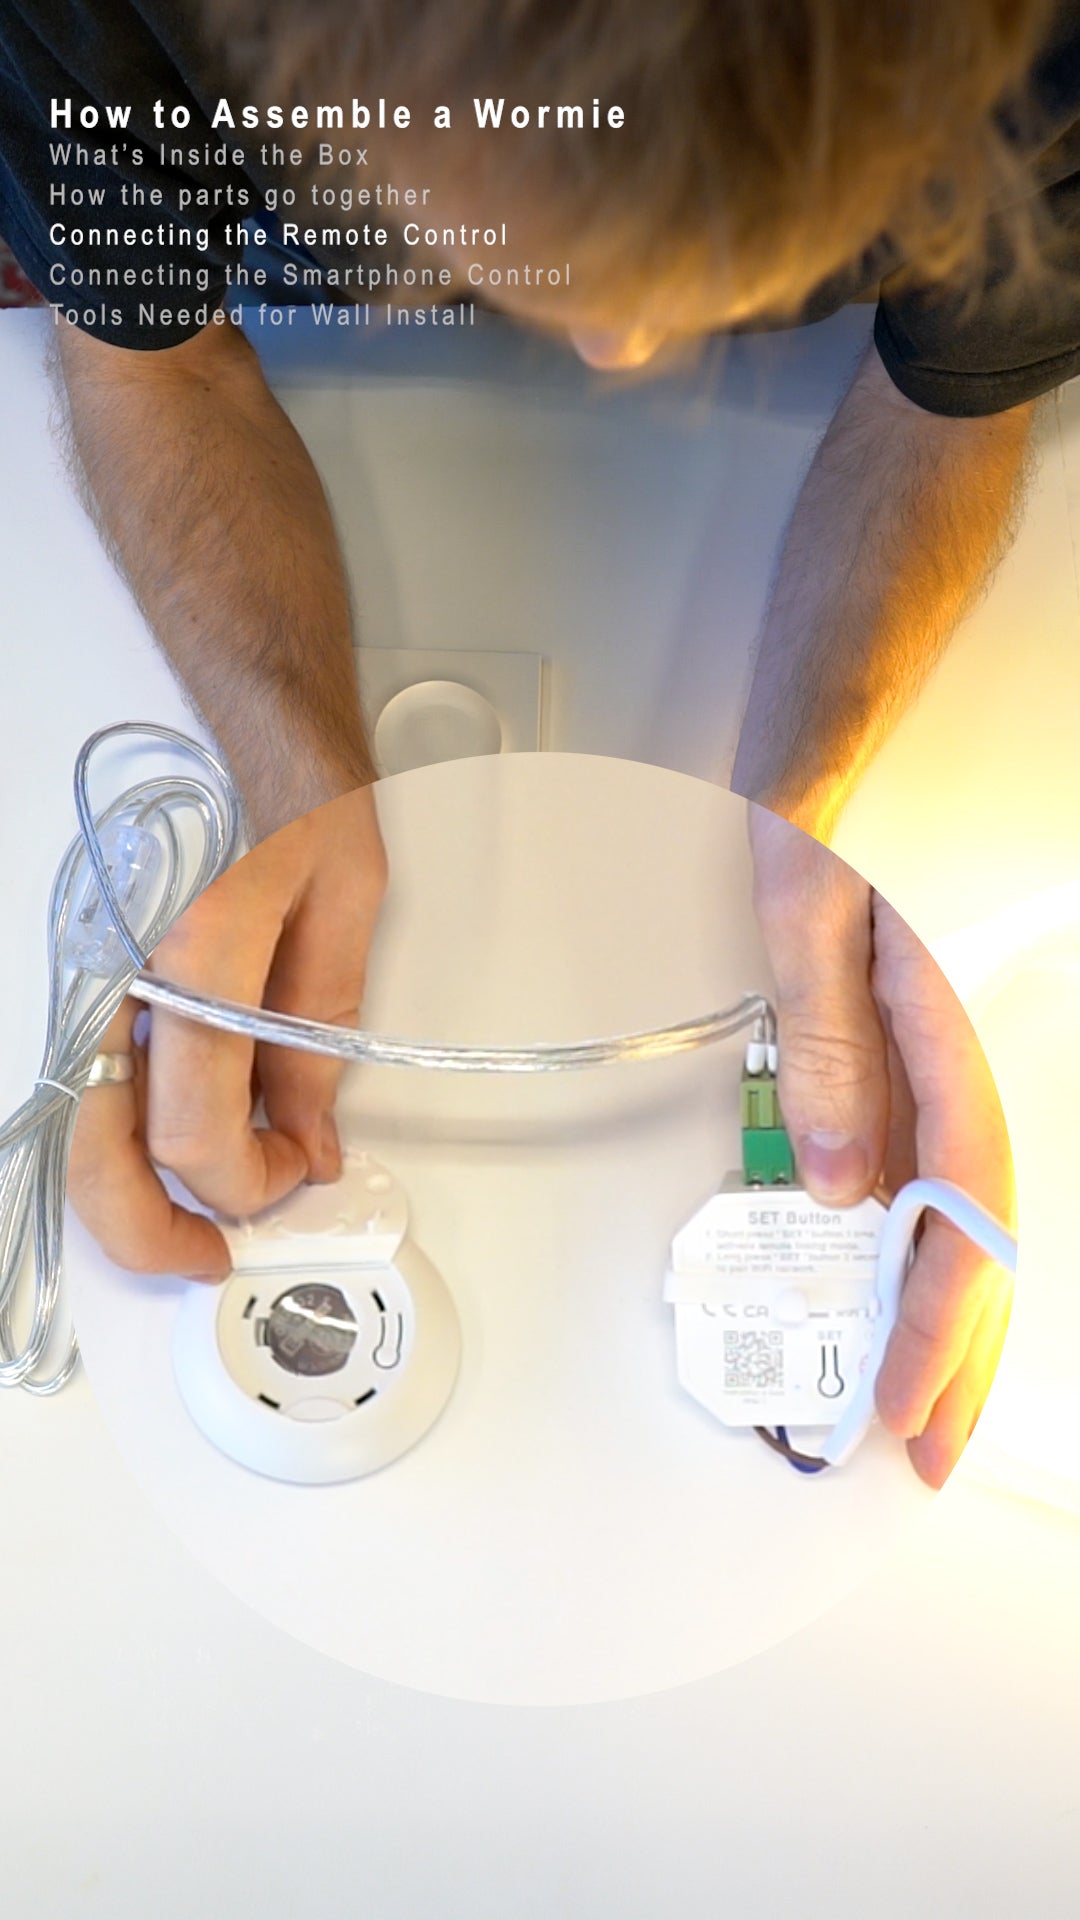
STEP 2
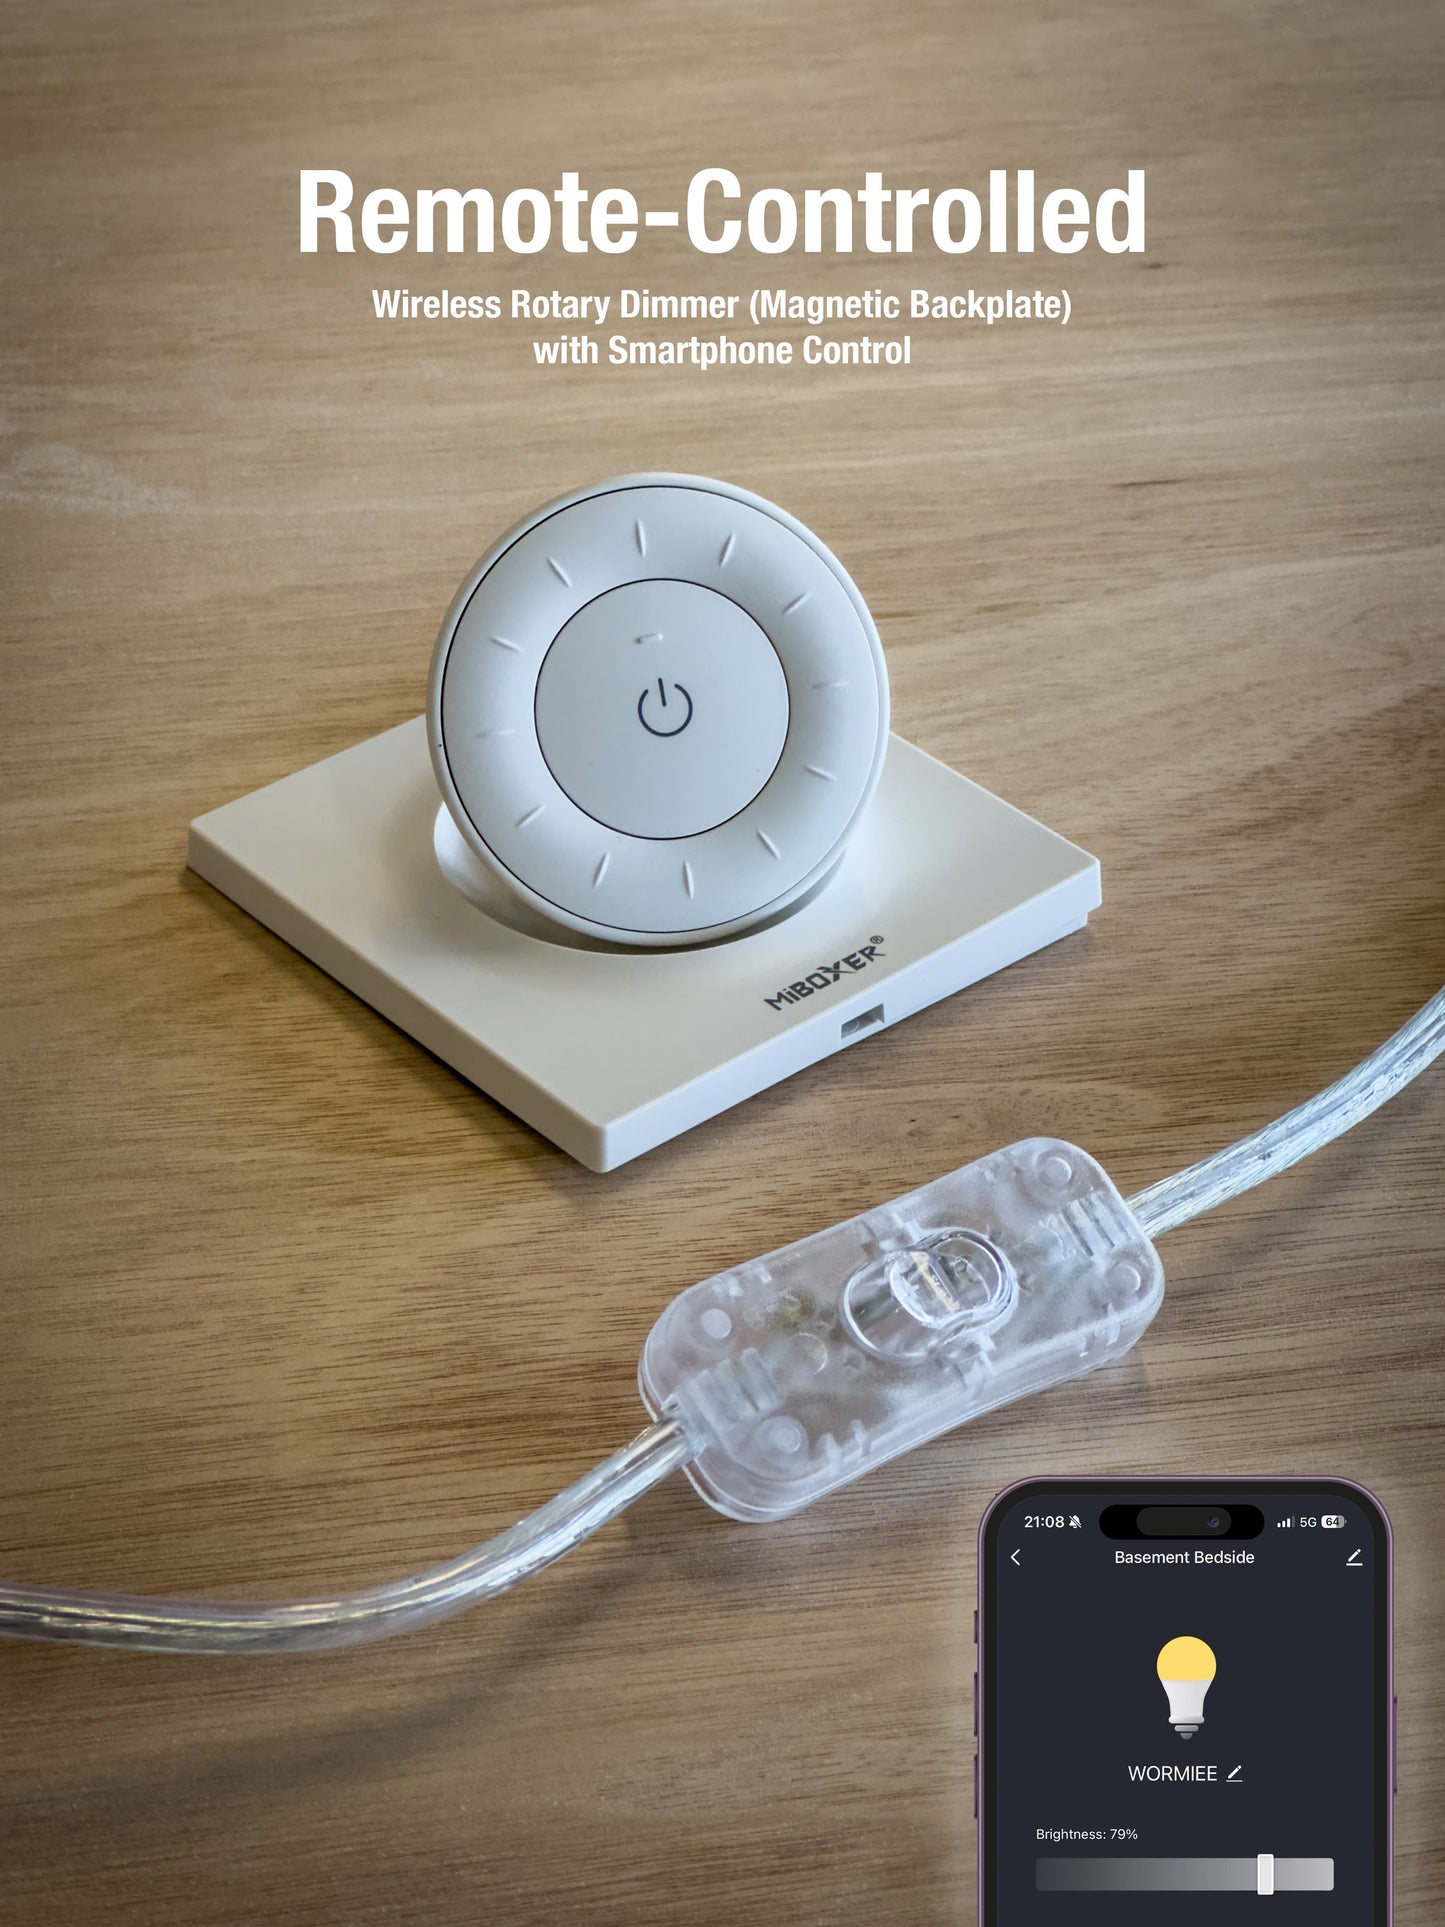
Connecting the Remote Control
1) Insert the Battery:
- Open the remote’s rubber back panel, insert the battery, and close the panel.
2) Connect Wormie to Power:
- Connect the Power Cord to the Brain and plug in to the nearest power socket.
3) Pair the Remote:
- You'll need to be quick (within 3 seconds), so get ready with both the BRAIN and the REMOTE in each hand.
- First, press the "SET" button on the Brain found on the Wormie Core
- Secondly, Within 3 seconds, press “SET” on the Remote button 3 times quickly.
- Wormie will flash three times to confirm the pairing.
4) Test the Remote:
- Use the remote to adjust the light brightness or turn it on/off.
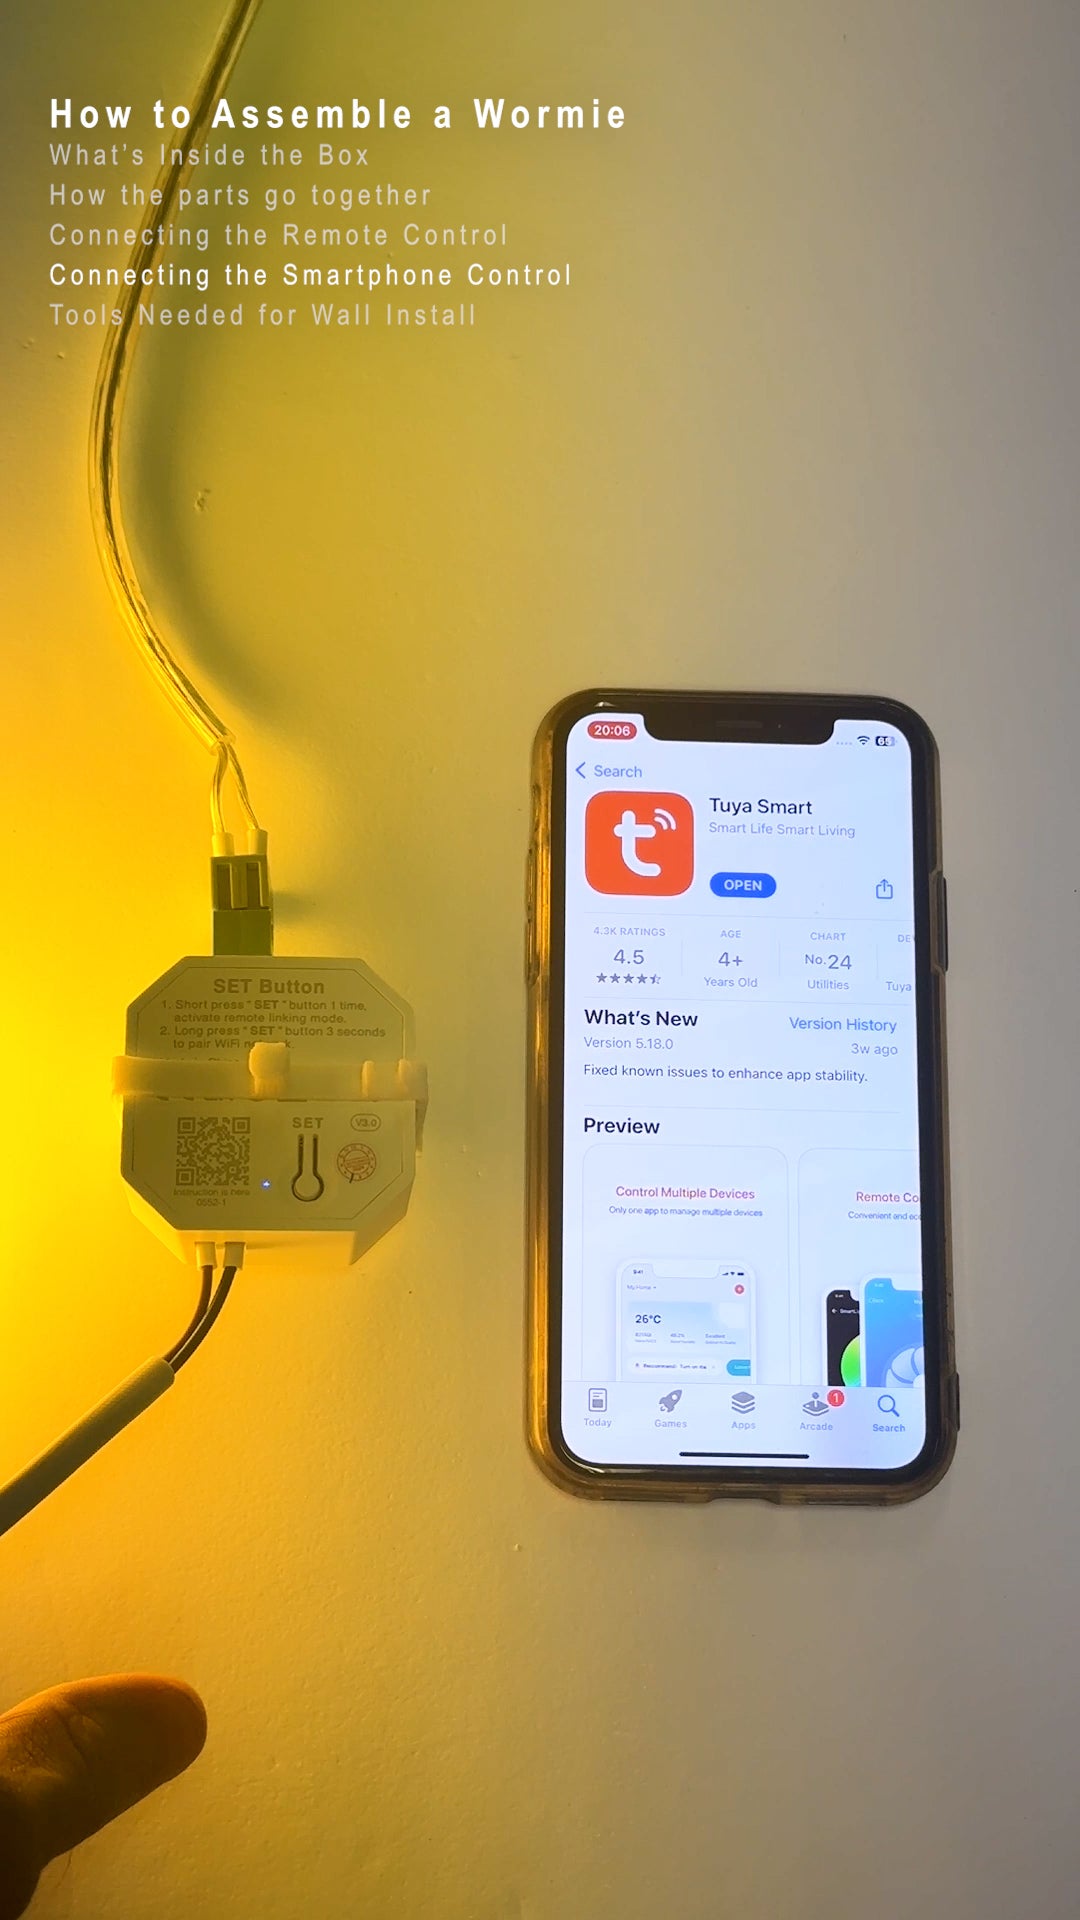
STEP 3
Setting Up Smartphone Control
1) Download the “TUYA Smart” App:
2) Pair with the App:
- Make sure your Phone is connected to your Wi-Fi network (2.4Ghz, not 5Ghz).
- Ensure Wormie is plugged in and powered on.
- Hold the “SET” button on the Brain for 3 seconds until it blinks rapidly.
- Open the app, select 'Add Device' and follow the on-screen instructions to connect Wormie to your 2.4GHz Wi-Fi network.
Integration Options:
- After pairing, Wormie (named “TRIAC” by default) will be visible in other Smart home systems like Alexa or Google Home.
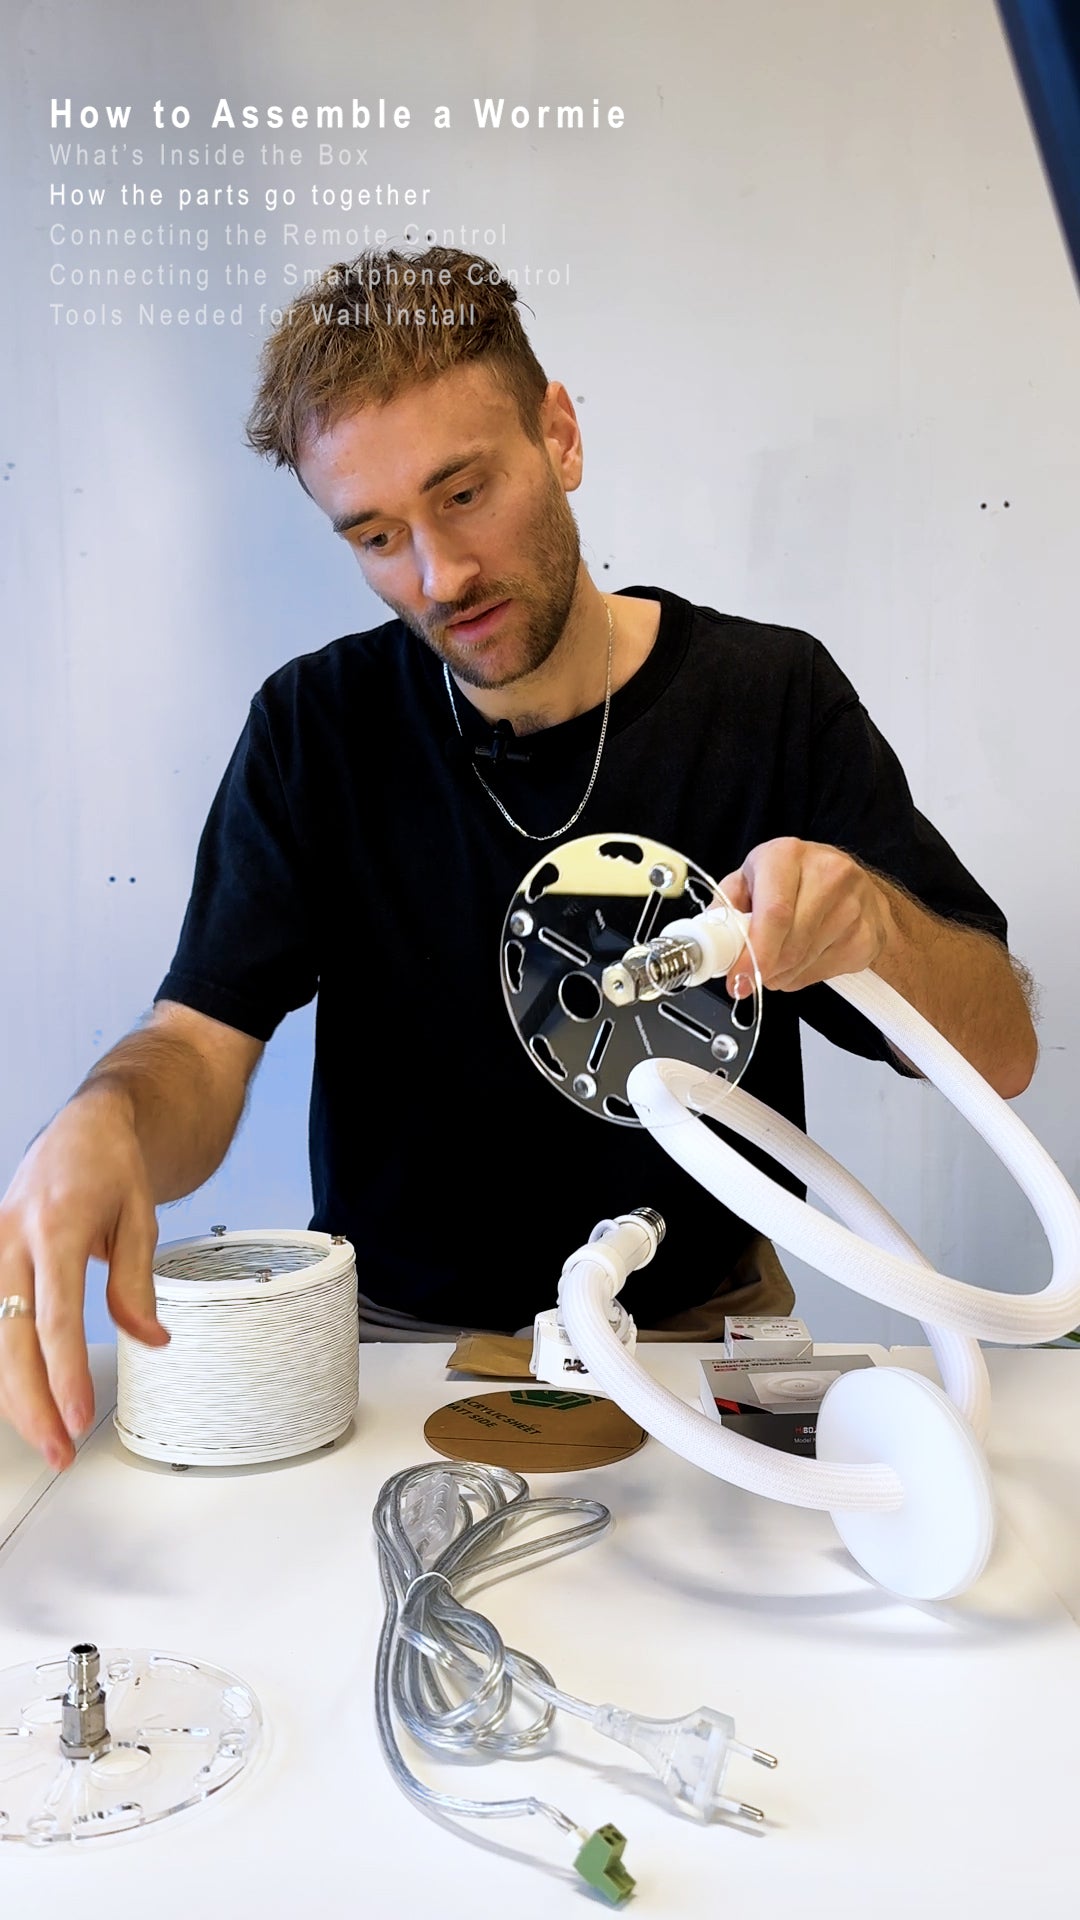
STEP 4
Assembling the Core
1) Attach End Caps:
- Press end caps into place until they click.
- To detach, pull the collar back - the End cap will eject.
2) Connect Power Cord (optional):
- If you like, you can connect power the cord to the Brain so Wormie can be 'on' as you find the perfect shape and spot.
STEP 5
Mounting on the Wall
1) Prepare for Installation:
- Select a spot near a power outlet (or a hard-wired electrical point or existing light fitting)
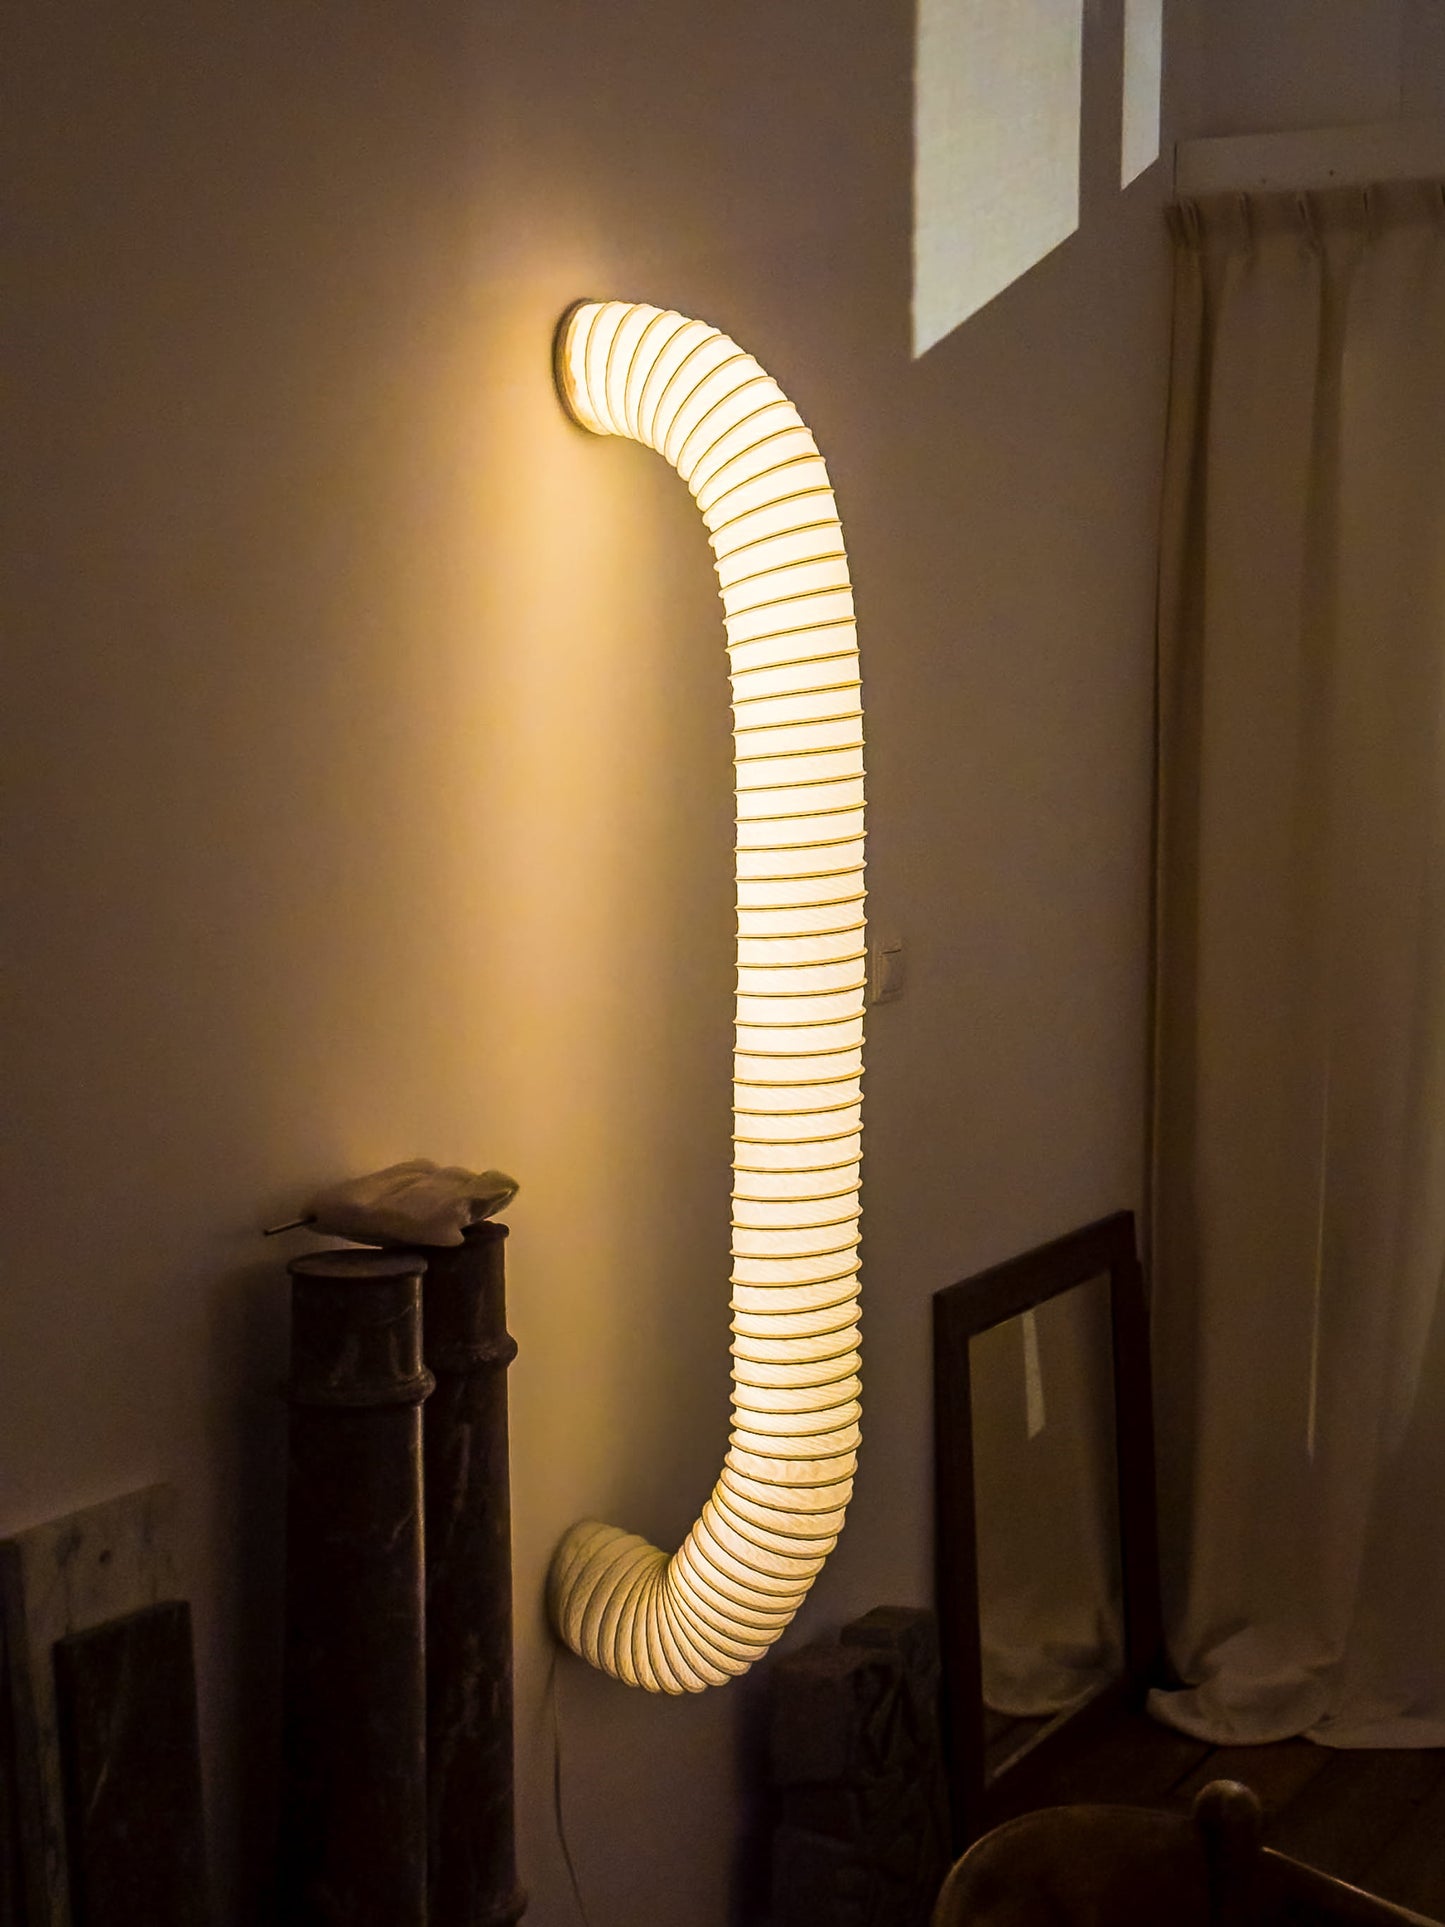
- Carefully Pre-shape Wormie to the desired form while ensuring the end caps lay flat on the desired surface ‘naturally’ without being forced.
- If you’re aiming to have both ends terminate with the same curvature or look, begin bending from Powered end (longer end) to ensure you don’t end up with an uneven shape.
- Ensure Wormie looks good from all angles (front & side).
2) Mark and Fix the End Caps:
- Use a pencil to mark screw positions for the end caps.
- Drill or hammer in plugs if required (e.g., for plaster or brick walls).
- Screw in the end caps securely but gently to avoid over tightening and cracking the acrylic. Apply constant inward force as you tighten the screw to ensure the plug inside the wall does not twist itself loose before it’s ‘grabbed’ fully.
3) Refine Shape:
- Fine-tune the bends to ensure Wormie fits snugly against the wall.
- Ensure no undue stress is applied to the Acrylic end caps.
4) Route Power through End Cap:
- Gently unscrew the end cap you want the power to go through, so there’s enough space between the wall and the back of the end cap to thread the power cord through (to eventually plug into the brain). Roughly 10cm of length is enough to ensure that you can connect to the brain safely.
- Carefully tighten the end cap back up when the power cord is threaded through the end cap.
STEP 6
Adding the Sleeve
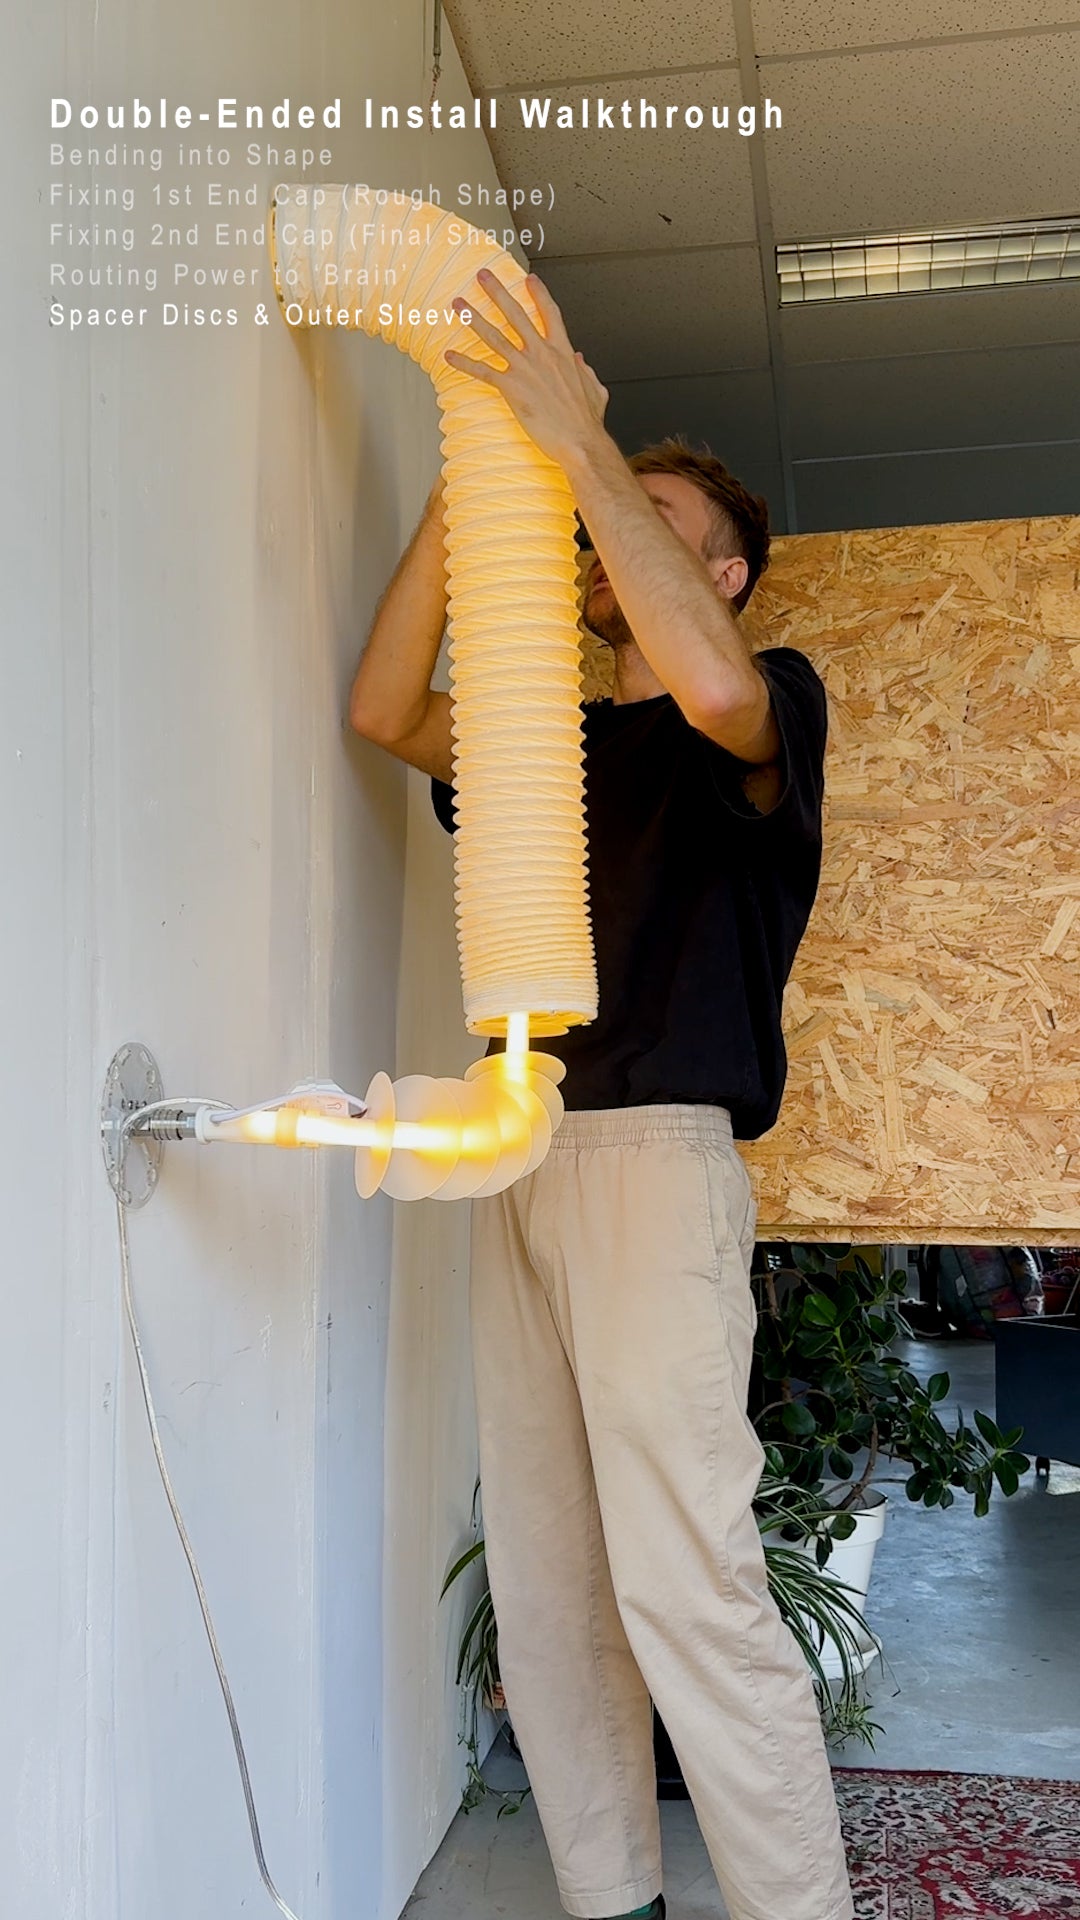
1) Distribute Spacer Discs:
- Distribute spacers evenly around bends to prevent light hotspots.
- More spacers are needed at sharper bends to ensure a smooth bend.
2) Slide On the Sleeve:
- Unclip one end cap and carefully slide the sleeve over the core.
- Reattach the end cap and twist-lock it into place.
STEP 7
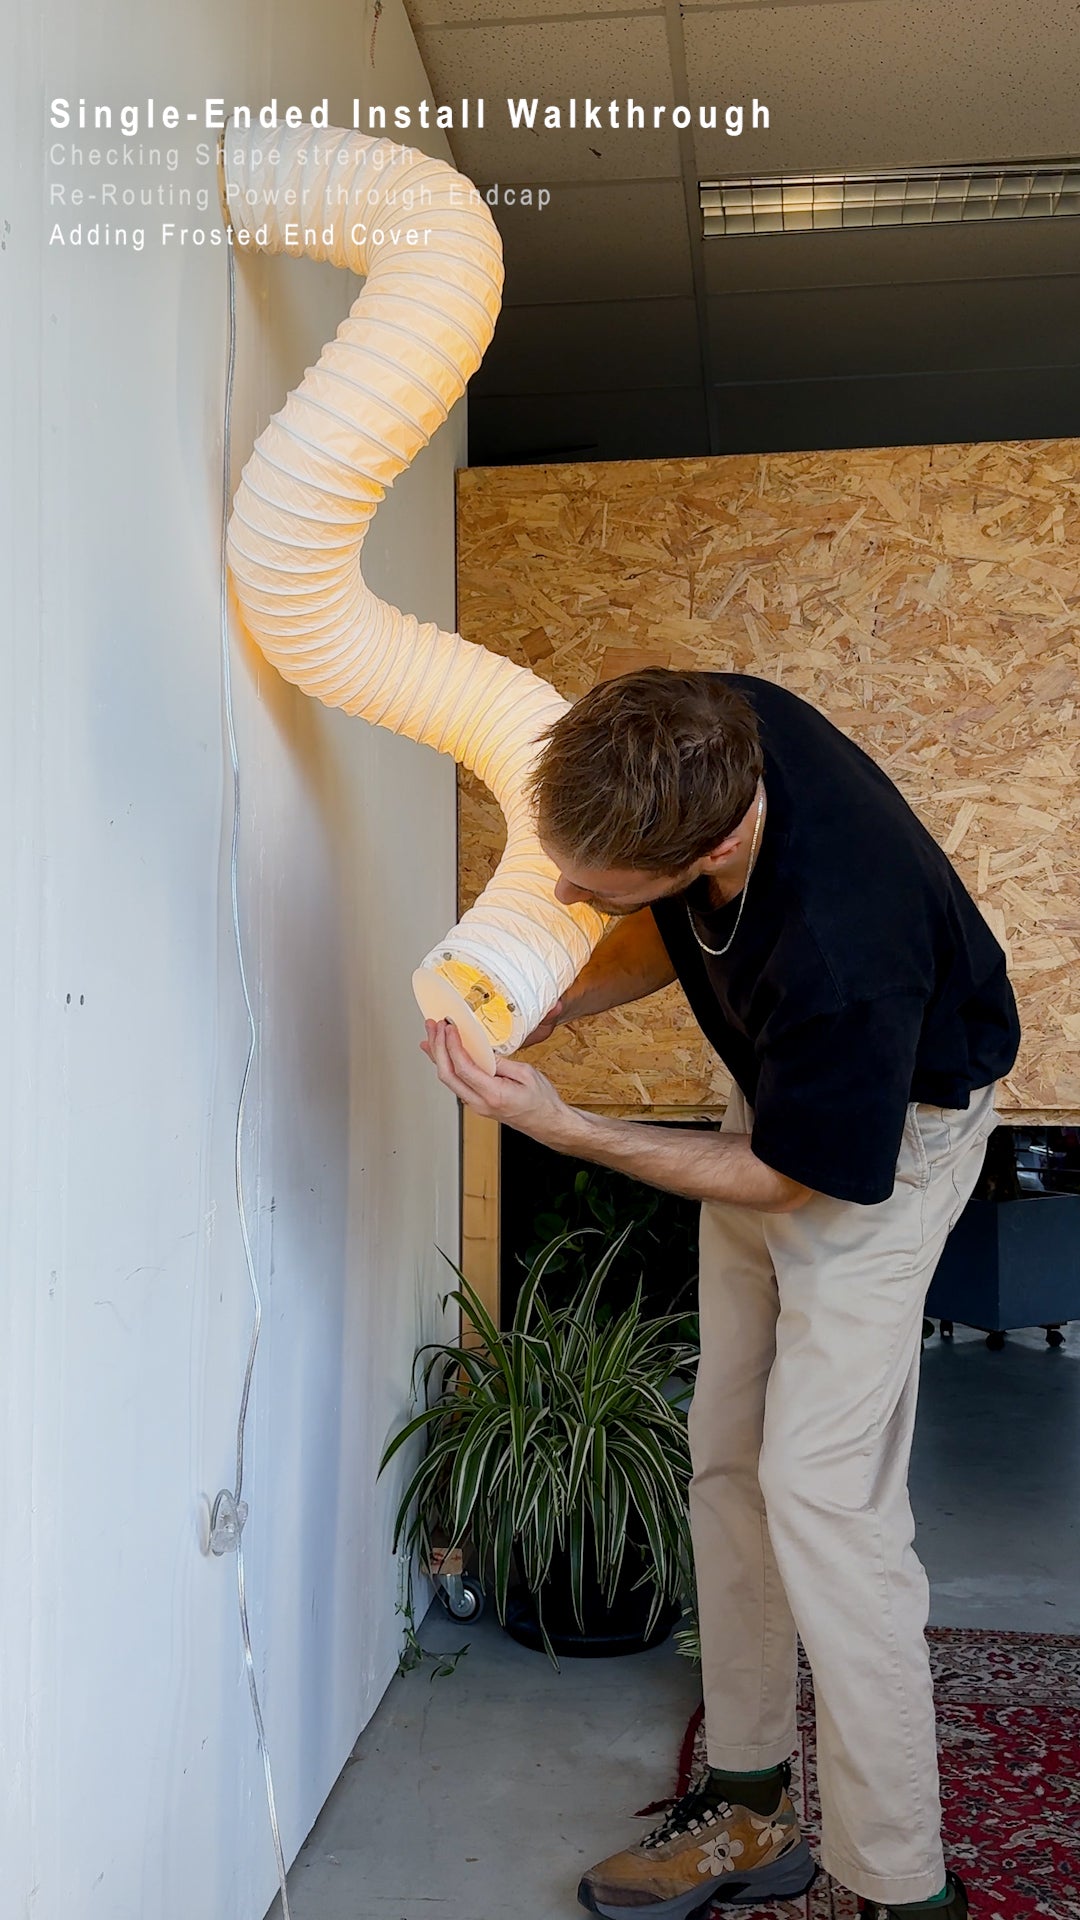
Single-Ended Setup
1) Shape Carefully
- One-ended Wormie shapes put extra stress on the acrylic end cap so be very careful with abrupt movements, and only shape Wormie while ‘unclicked’ from the End cap.
2) Fit the Frosted End Cover:
- Screw the provided frosted cover into the "open" end cap, into the middle of the end cap using the provided stainless steel bolt.
STEP 8
Final Touches
1) Shape Adjustment:
- Use the remote or smartphone app to adjust brightness and test light placement.
- Rotate the brain to the opposite side of the LED to ensure no shadows are created by by the brain.
- NOTE: Take care that the cables are not being pulled too much as you twist the brain. If you need to some more (or less) length in the power cord to twist the brain safely, gently push upwards on the core to relieve pressure on the end cap’s bottom half that holds the power cable in place and pull/push more or less cable through.-
2) Inspect the Installation:
- Check for snug fittings and that the sleeve is evenly distributed and not bunched up in one area.
- Make final tweaks to Wormie’s shape if needed by untwisting the sleeve and tweaking the core only.
- Do not attempt to adjust the shape by touching the sleeve.
Install Questions? I'm always ready to help on Whatsapp:
-

Scan QR Code
OR Click here to Chat directly on Whatsapp
1
/
of
12
Wormie
The Wormie 1.5m
Regular price
€229,00 EUR
Regular price
€229,00 EUR
Sale price
€229,00 EUR
Unit price
/
per
Taxes included.
Share
